¶ Configuring your VPS
Once you've purchased your VPS package you will need to complete the setup process before you can begin using it.
Thanks to our intuitive control panel this process is simple and easy to complete.
You will receive an email with the link to our VPS control panel. You can also access the control panel from your account area, our website menus or by visiting https://dashboard.glitchservers.com at any time.
Step 1.
During this step you can choose your VPS server name, this doesn't need to be anything specific, just something you will remember. For example you could call it ‘FiveM Server’ if you were installing a FiveM server.
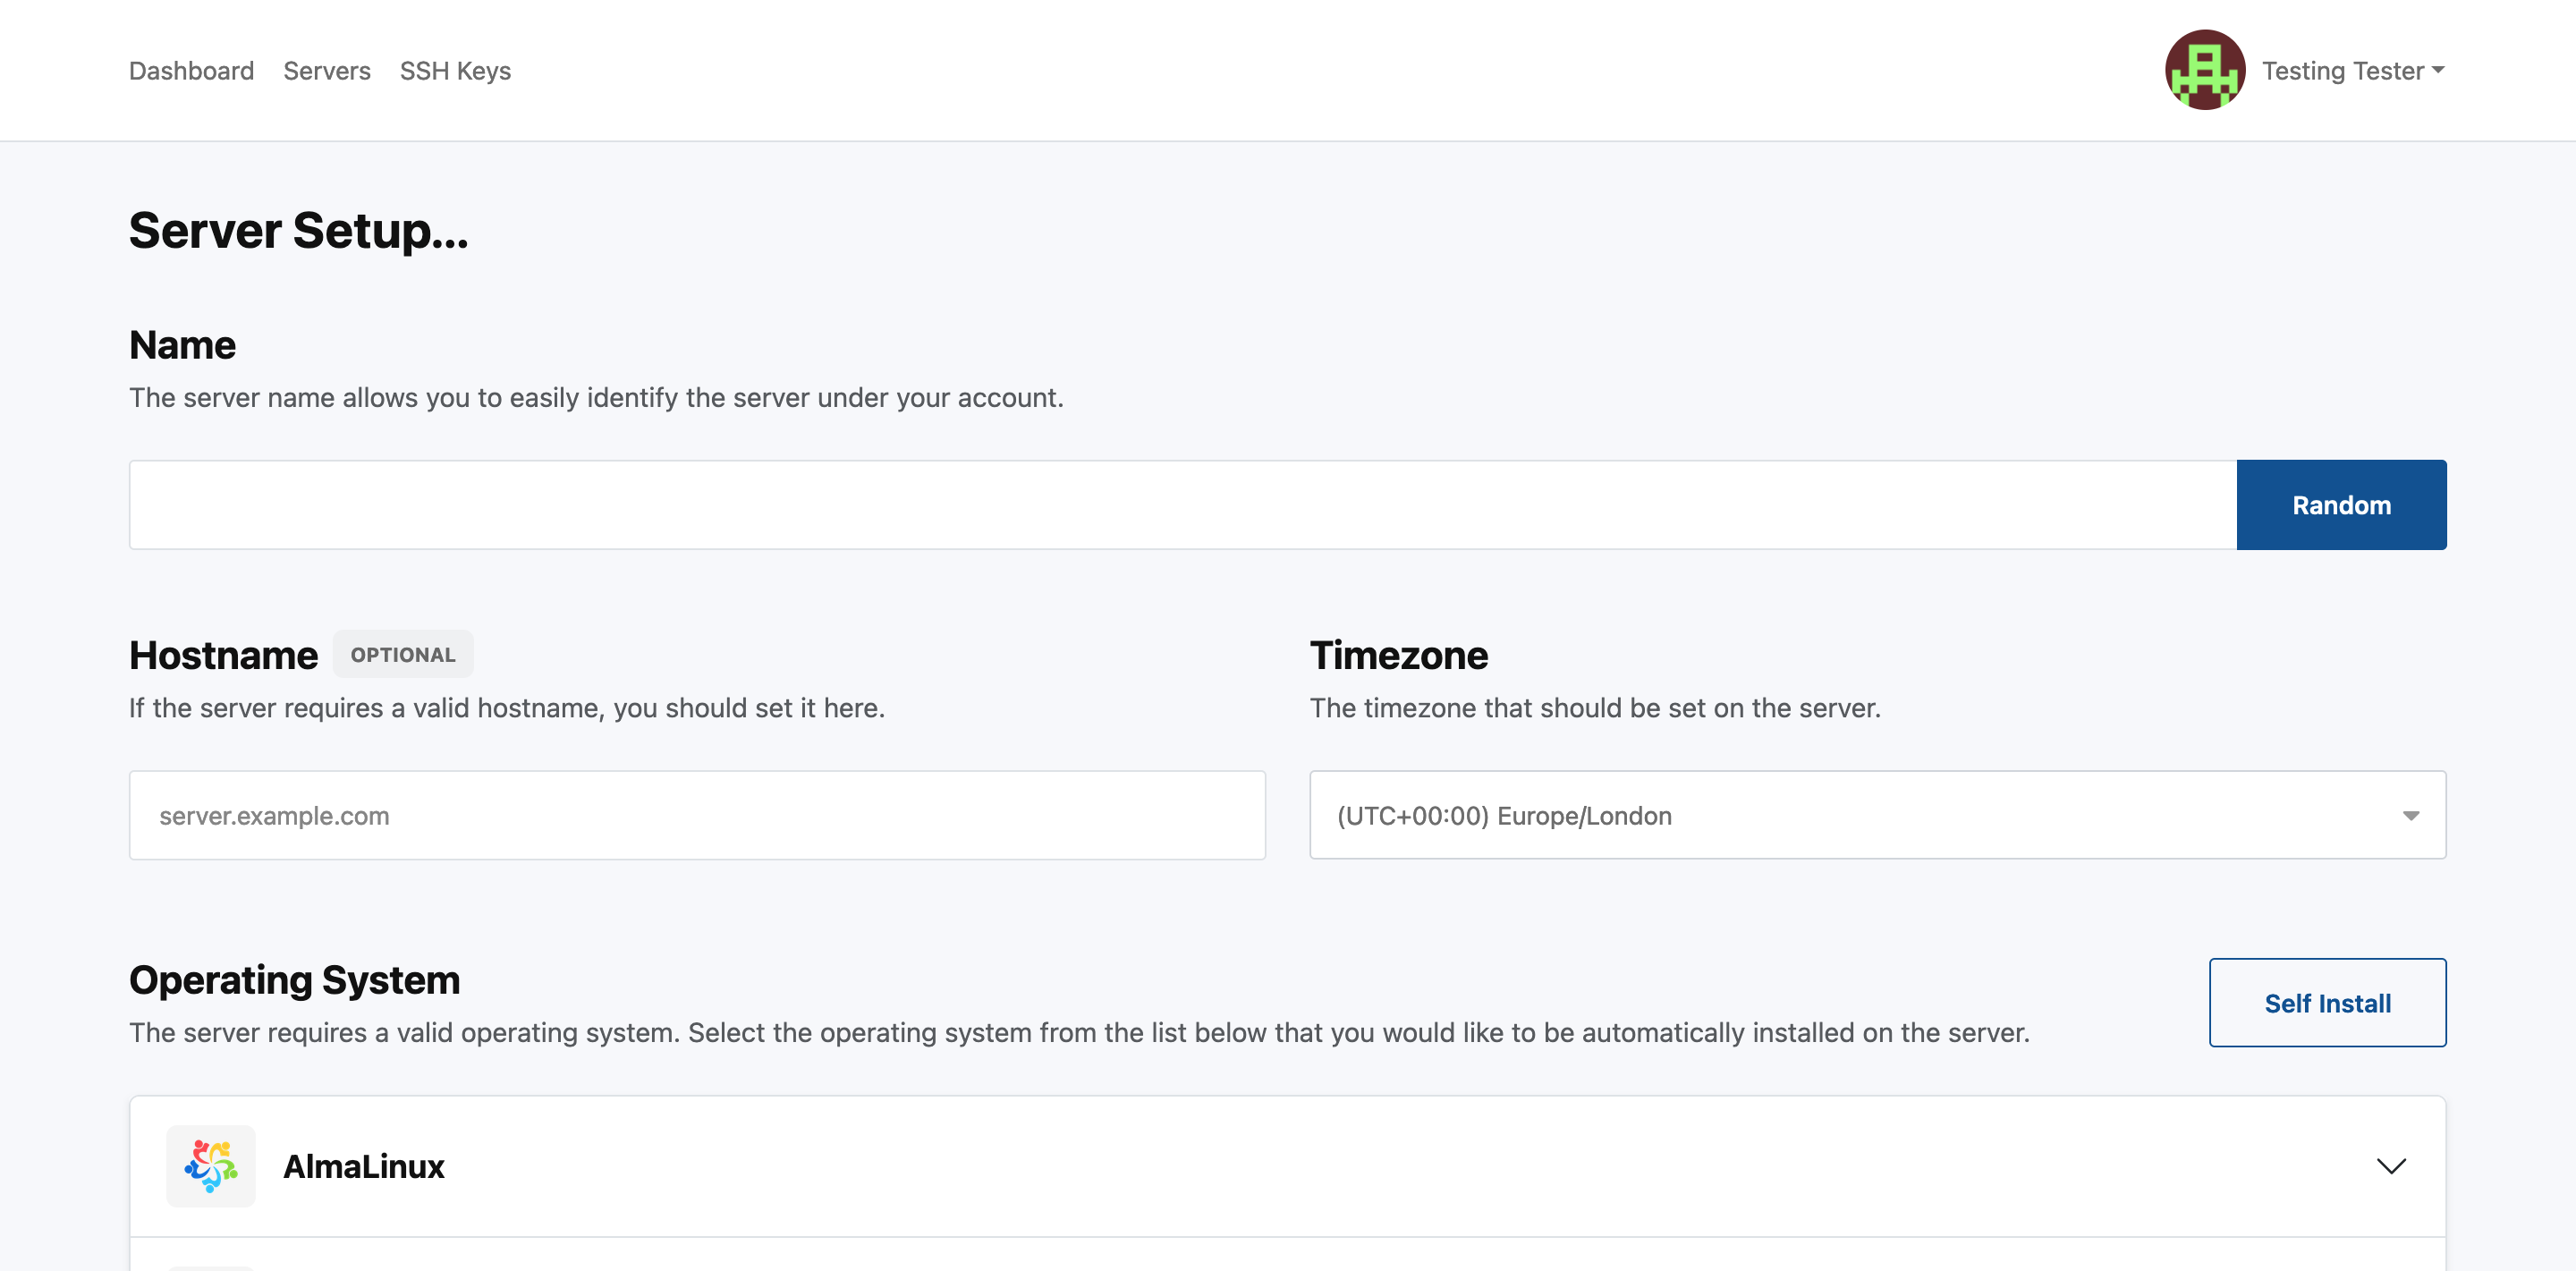
Step 2.
As you scroll down you will next be met with the OS selection area, for the purposes of this tutorial we will be using Windows Server 2025.
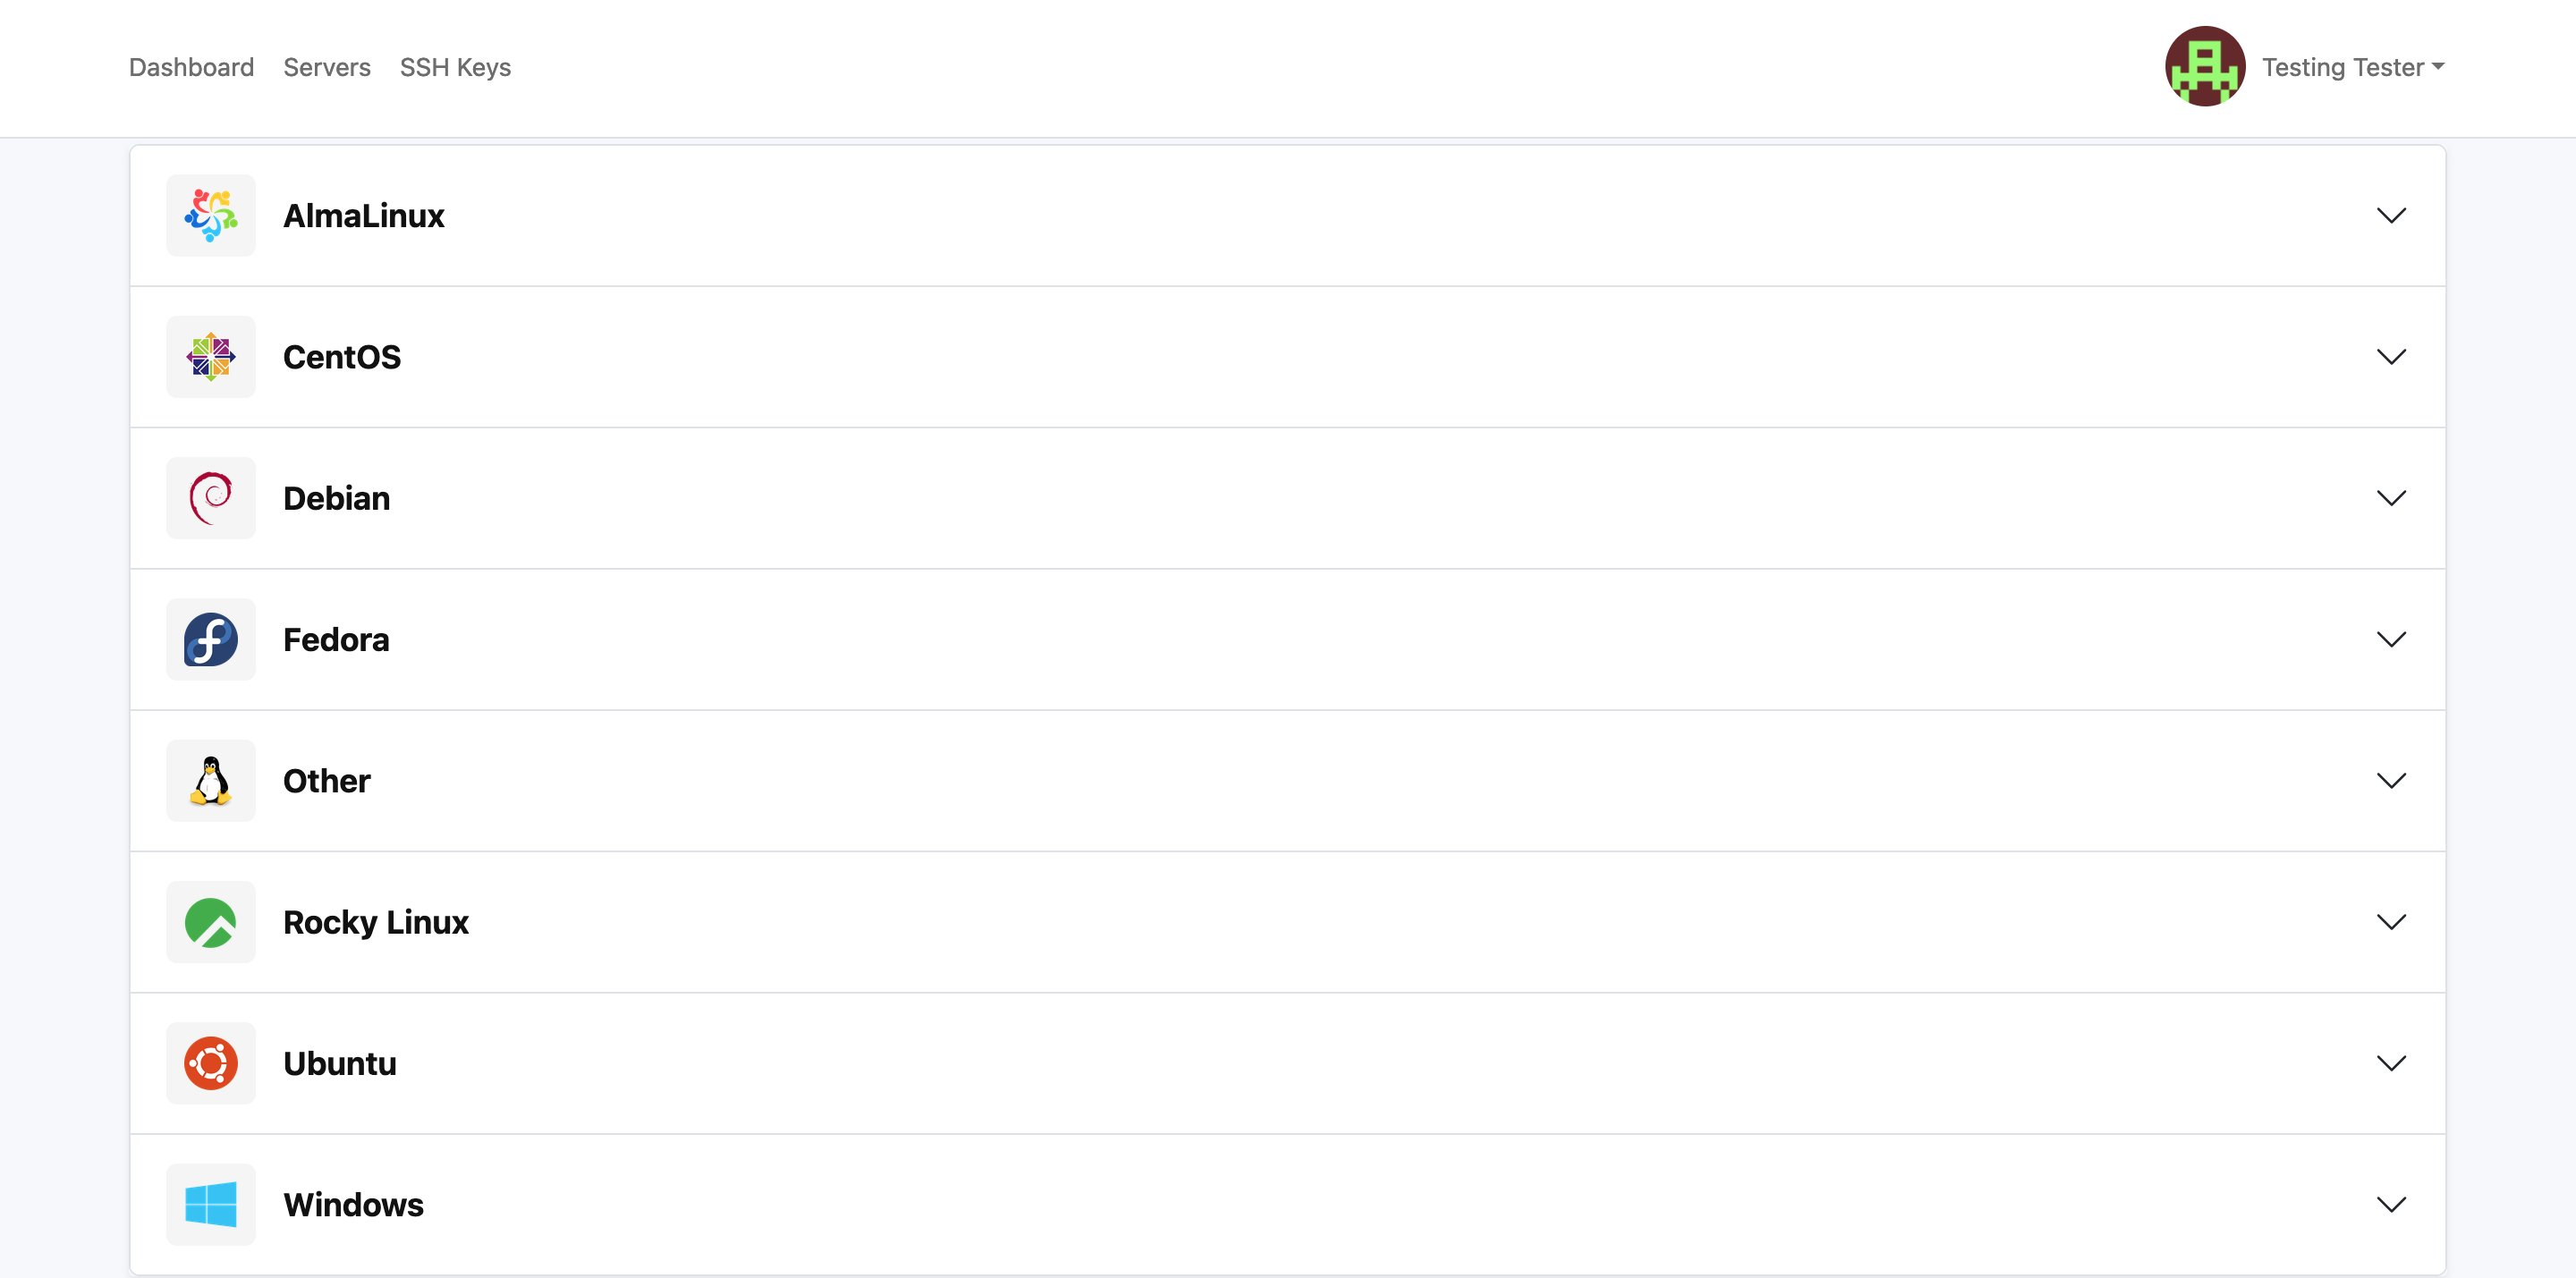
Step 3.
Click on the OS type you want to use and a further menu will be displayed.
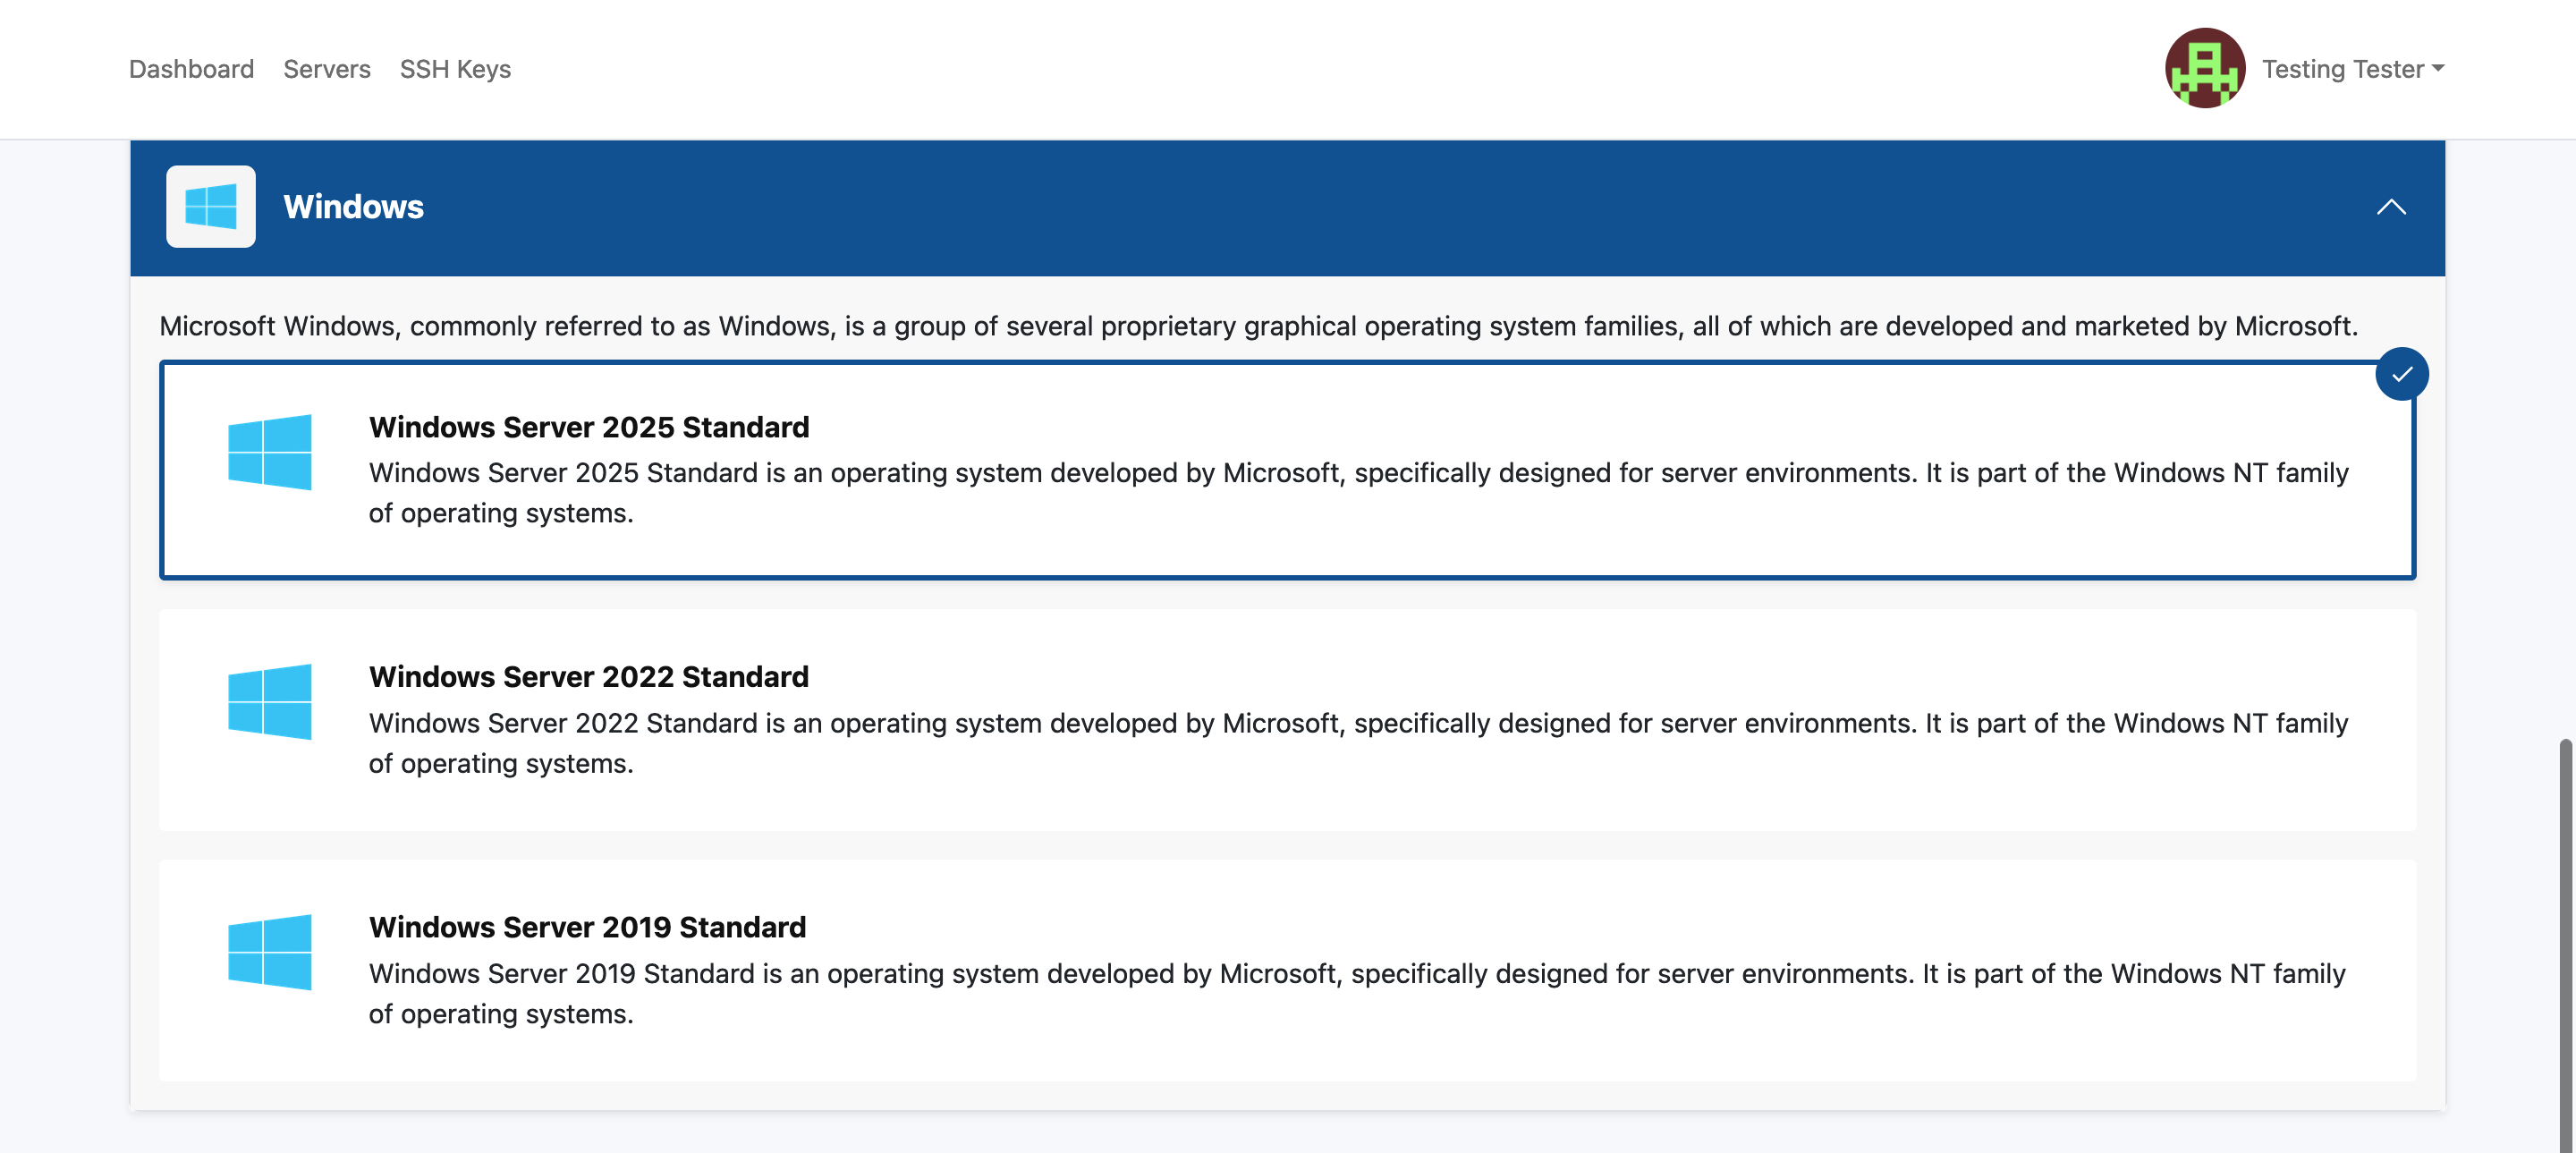
Step 4.
Now you've selected your OS you just need to confirm you are happy with your selection to let the install begin.

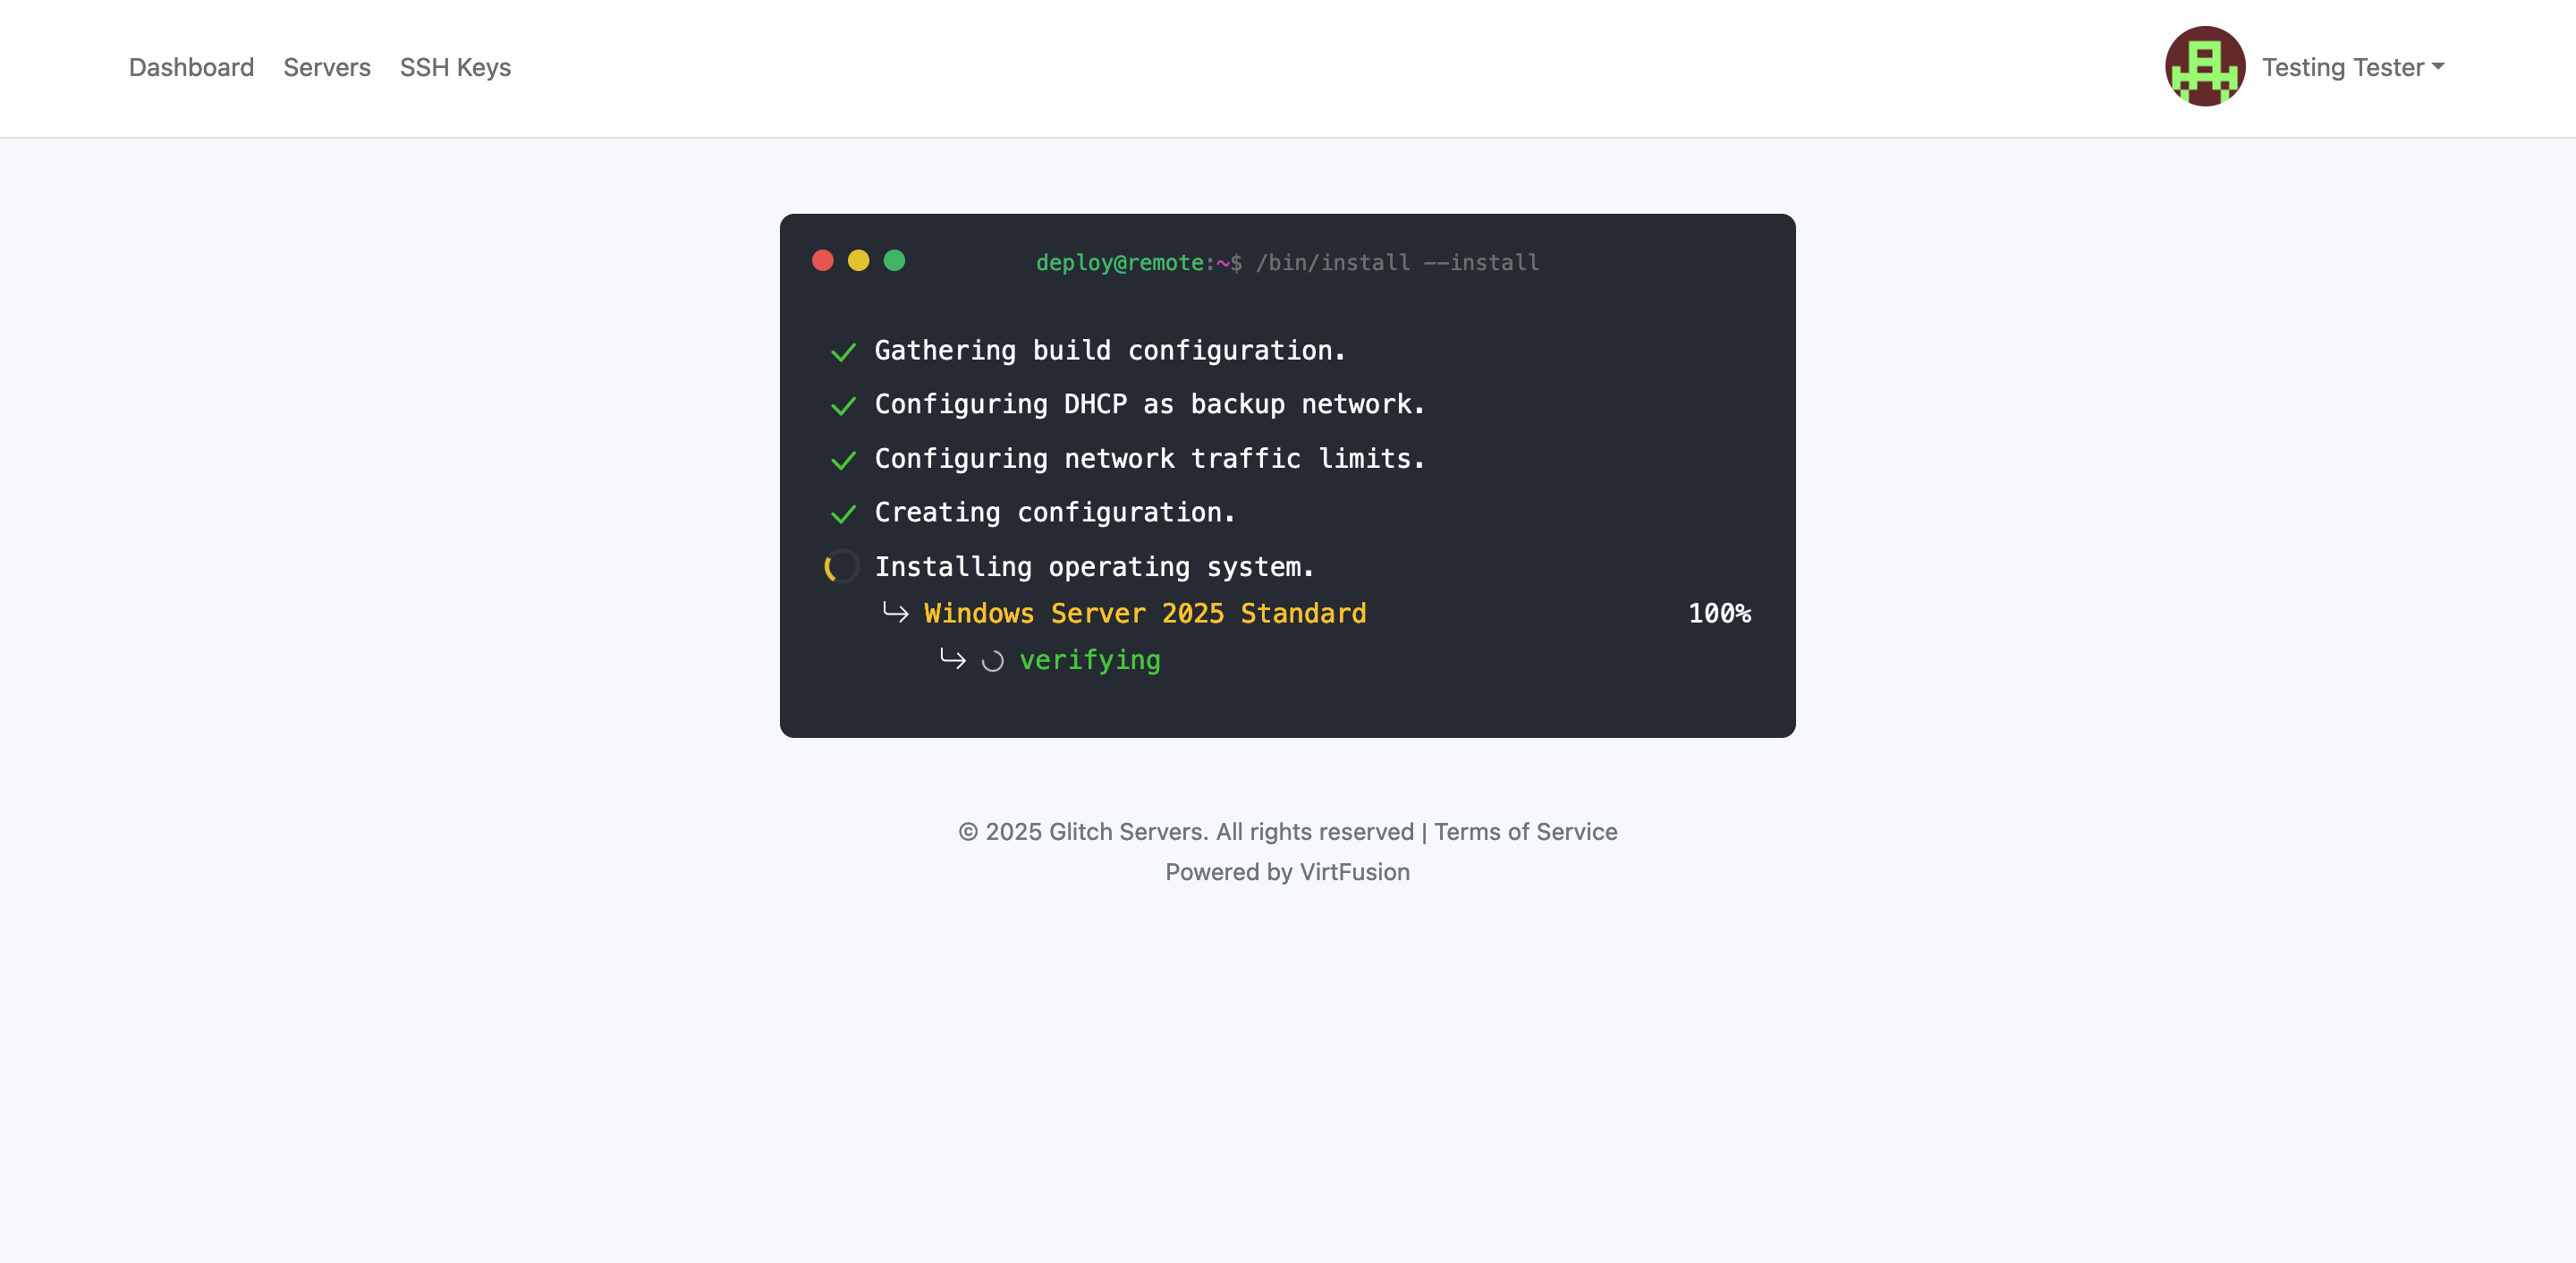
Step 5.
Once you've confirmed, you jusst need to let the installer complete.
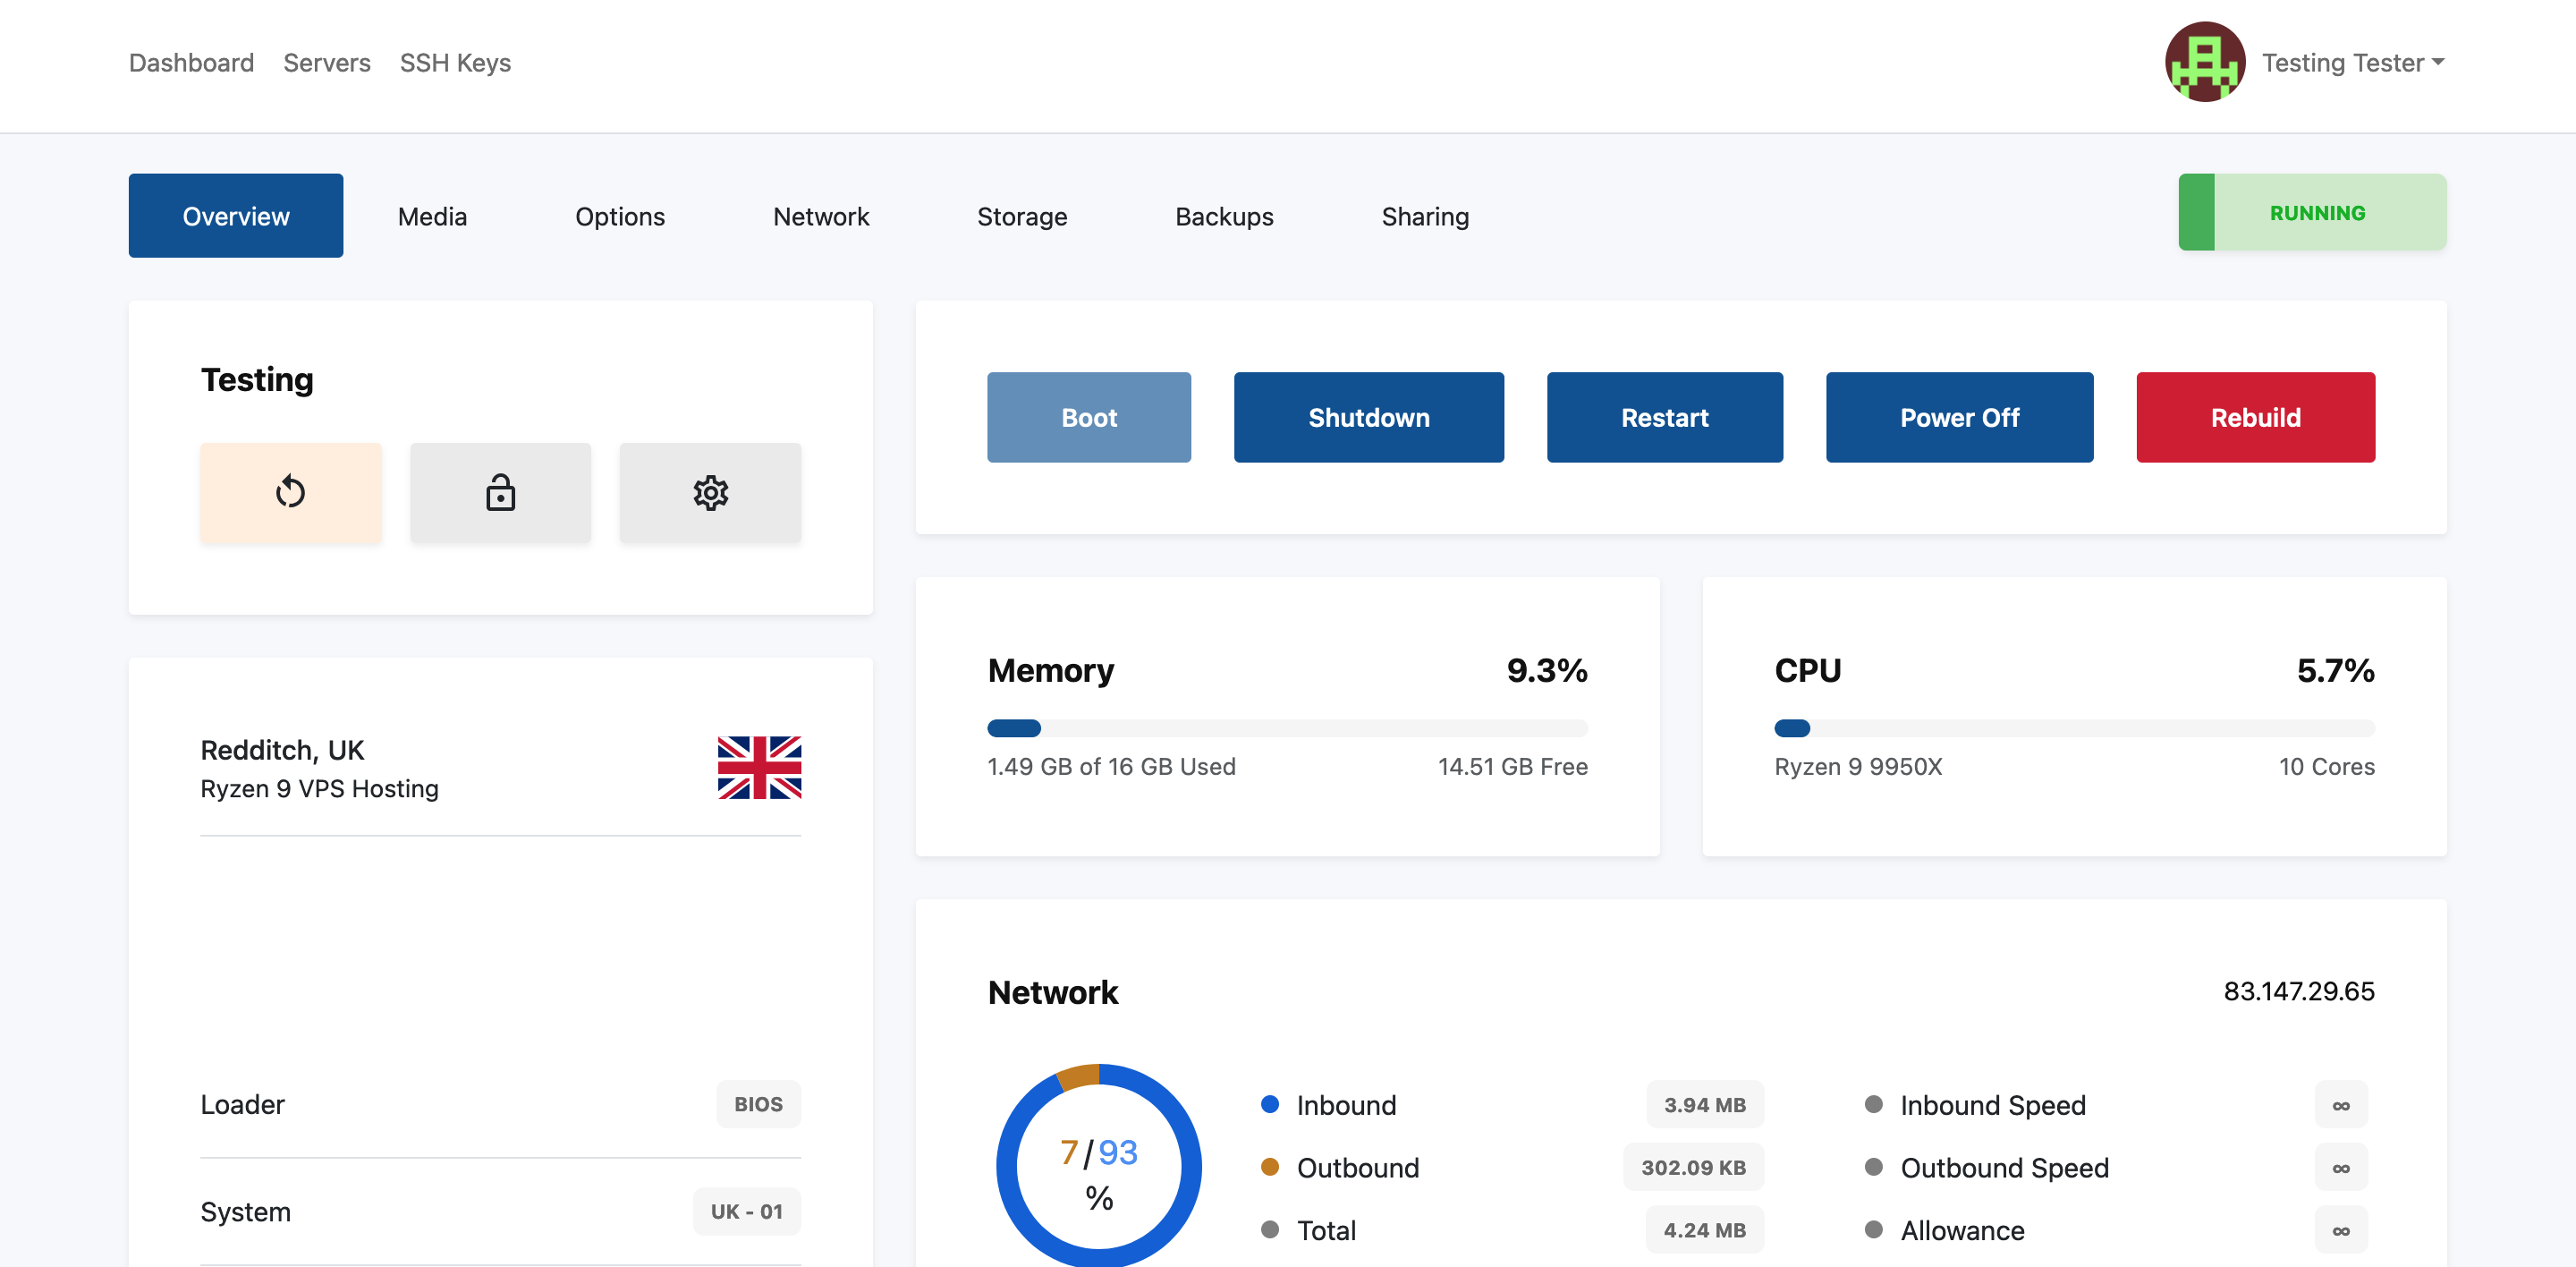
Step 6.
Now the installer is complete you will be shown the VPS dashboard and if you wait a few moments for the installer to complete in the background you will see the server statistics begin to populate.
Please note that if you chose Windows Server 2025 then once the server has built and a few minutes has passed you may need to press ‘reset password’ under the Options tab at the top of the VPS dashboard. This is a limitation of the Windows Server 2025 template currently that it does not send the password automatically.
For other versions of Windows Server (2019 & 2022) and for Linux OS's you will receive an email within 5-20 minutes of your server being built with your username and password details. Please remember, we always recommend changing any password which has been emailed to you in plain text and enabling 2FA.