This tutorial is for installing a FiveM server on a Windows server 2019, 2022 or 2025 VPS. These steps are also relevant for hosting a server on your home PC but there will be some differences in terms of accessing your server at home, you will need to open ports on your router which we will not be covering here.
Once you have the login details for your VPS you need to log into it using the Remote Desktop Program on your PC or Laptop.
Please note - These steps should all be followed on your VPS or PC hosting the server.
¶ Required programs
Programs we will be using for this tutorial (click to be taken to the relevant download pages)
- Heidi SQL (or preferred alternative) - This is for creating/editing your servers database files
- MariaDB - This is for running the sql server
- 7ZIP - This is for unzipping the FiveM server files
- VSCode (or preferred alternative) - This is for editing the servers config files
¶ Getting the server files
Once you have downloaded and installed the programs listed above you can visit the FiveM project page to download the server files.
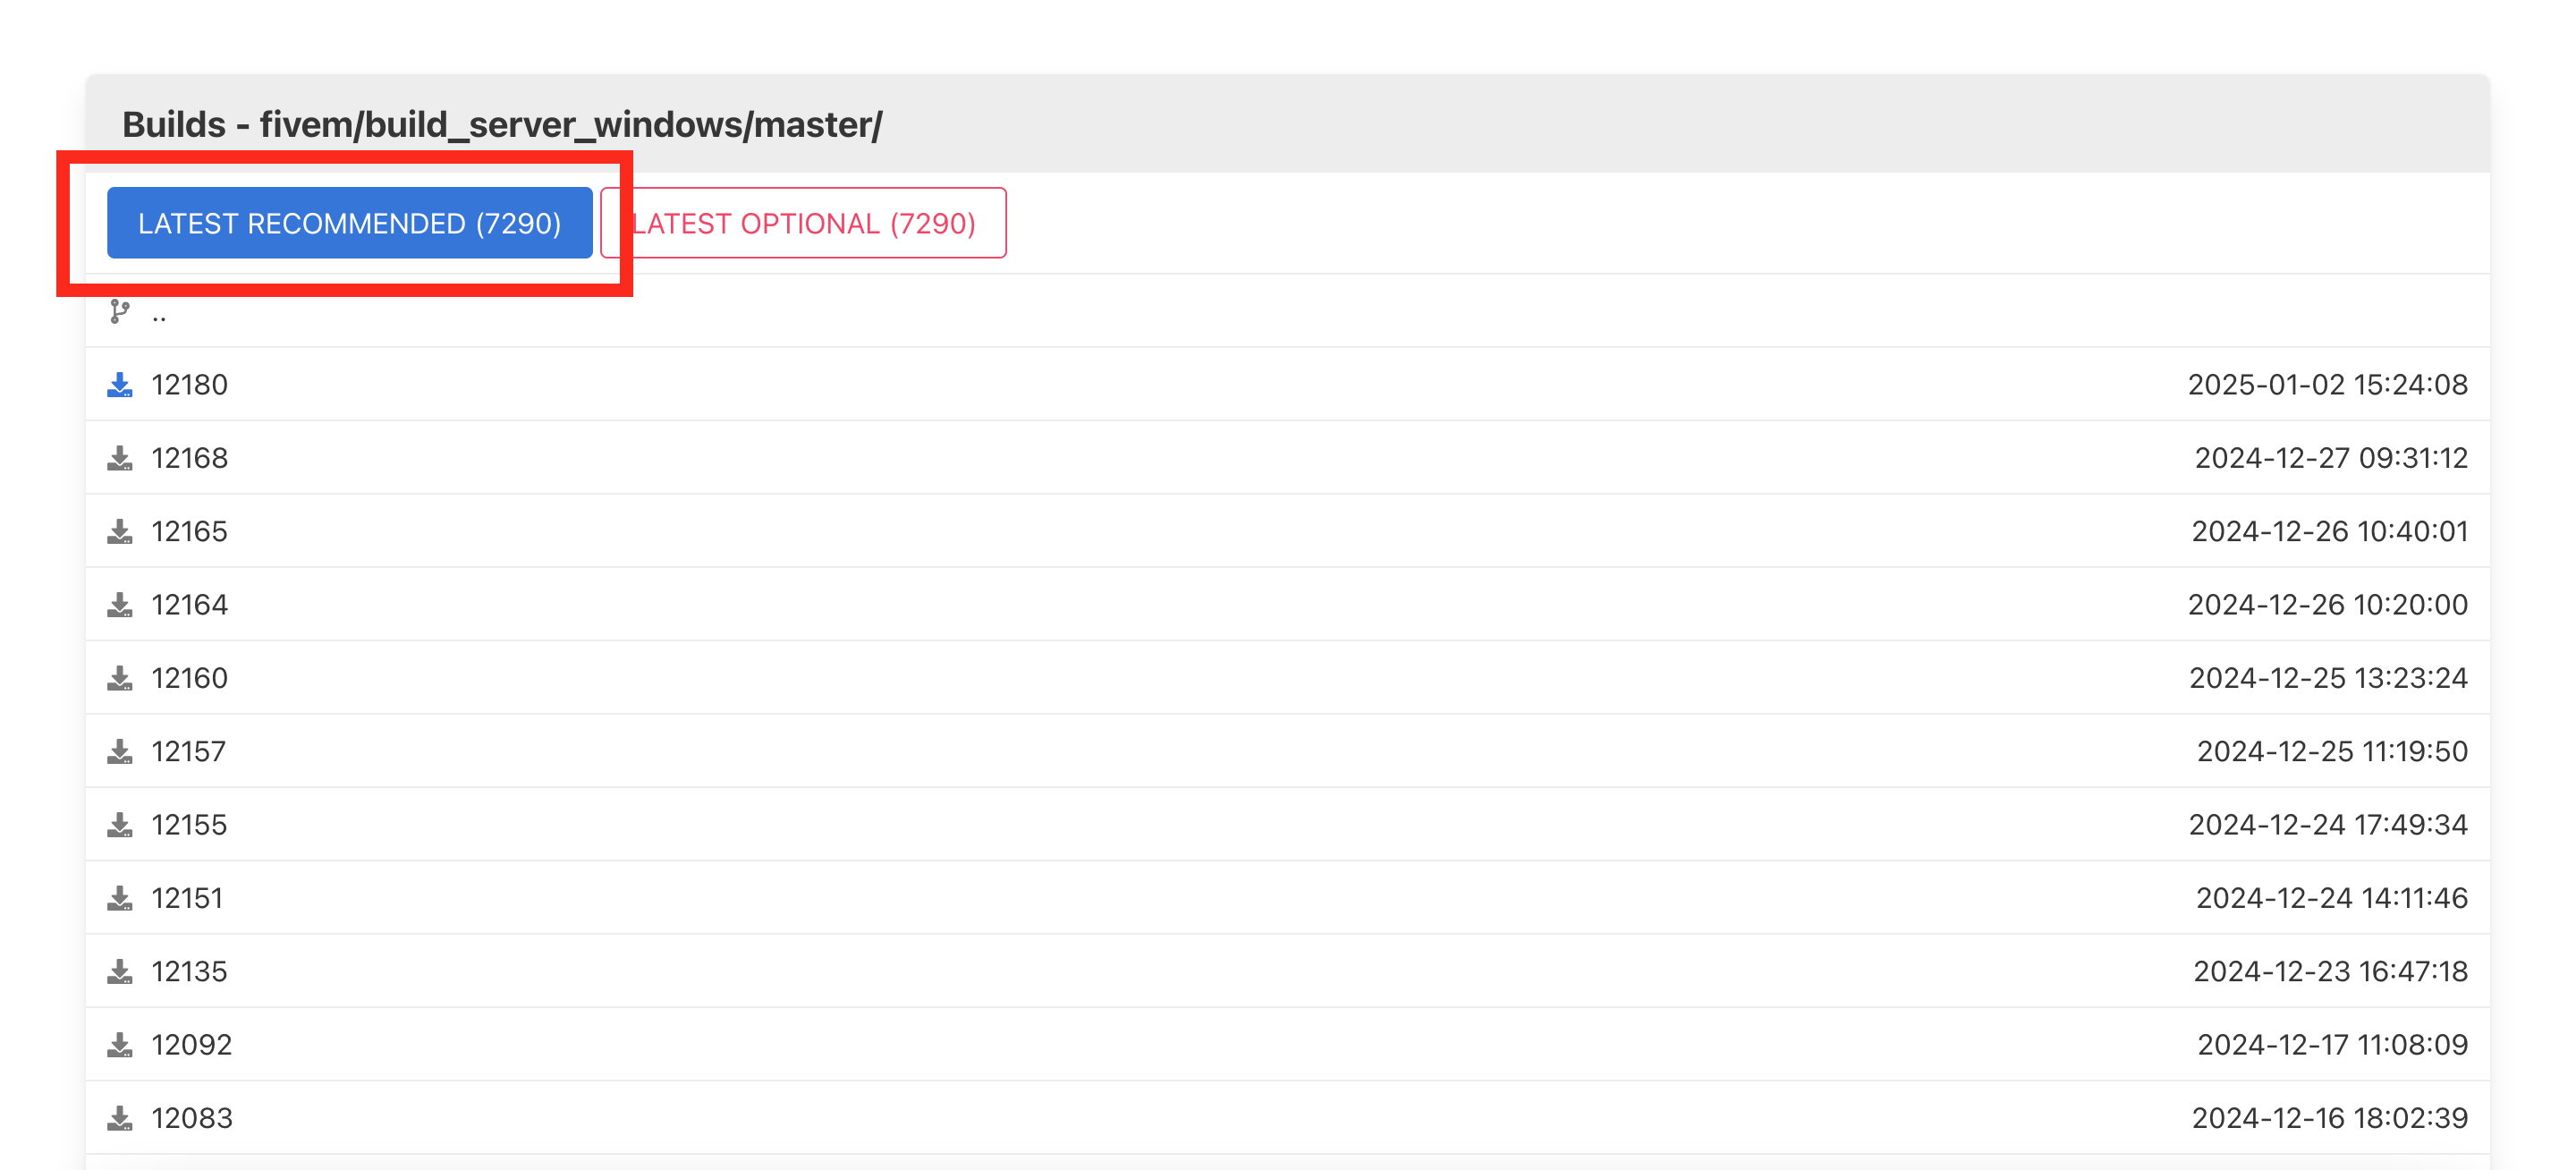
This link takes you to the list of Windows Server Artifacts, from this we usually reccomend that you download the ‘latest recommended’ version. Click on the blue box, this will send the recommended server files to your download folder.
¶ Installing the server files
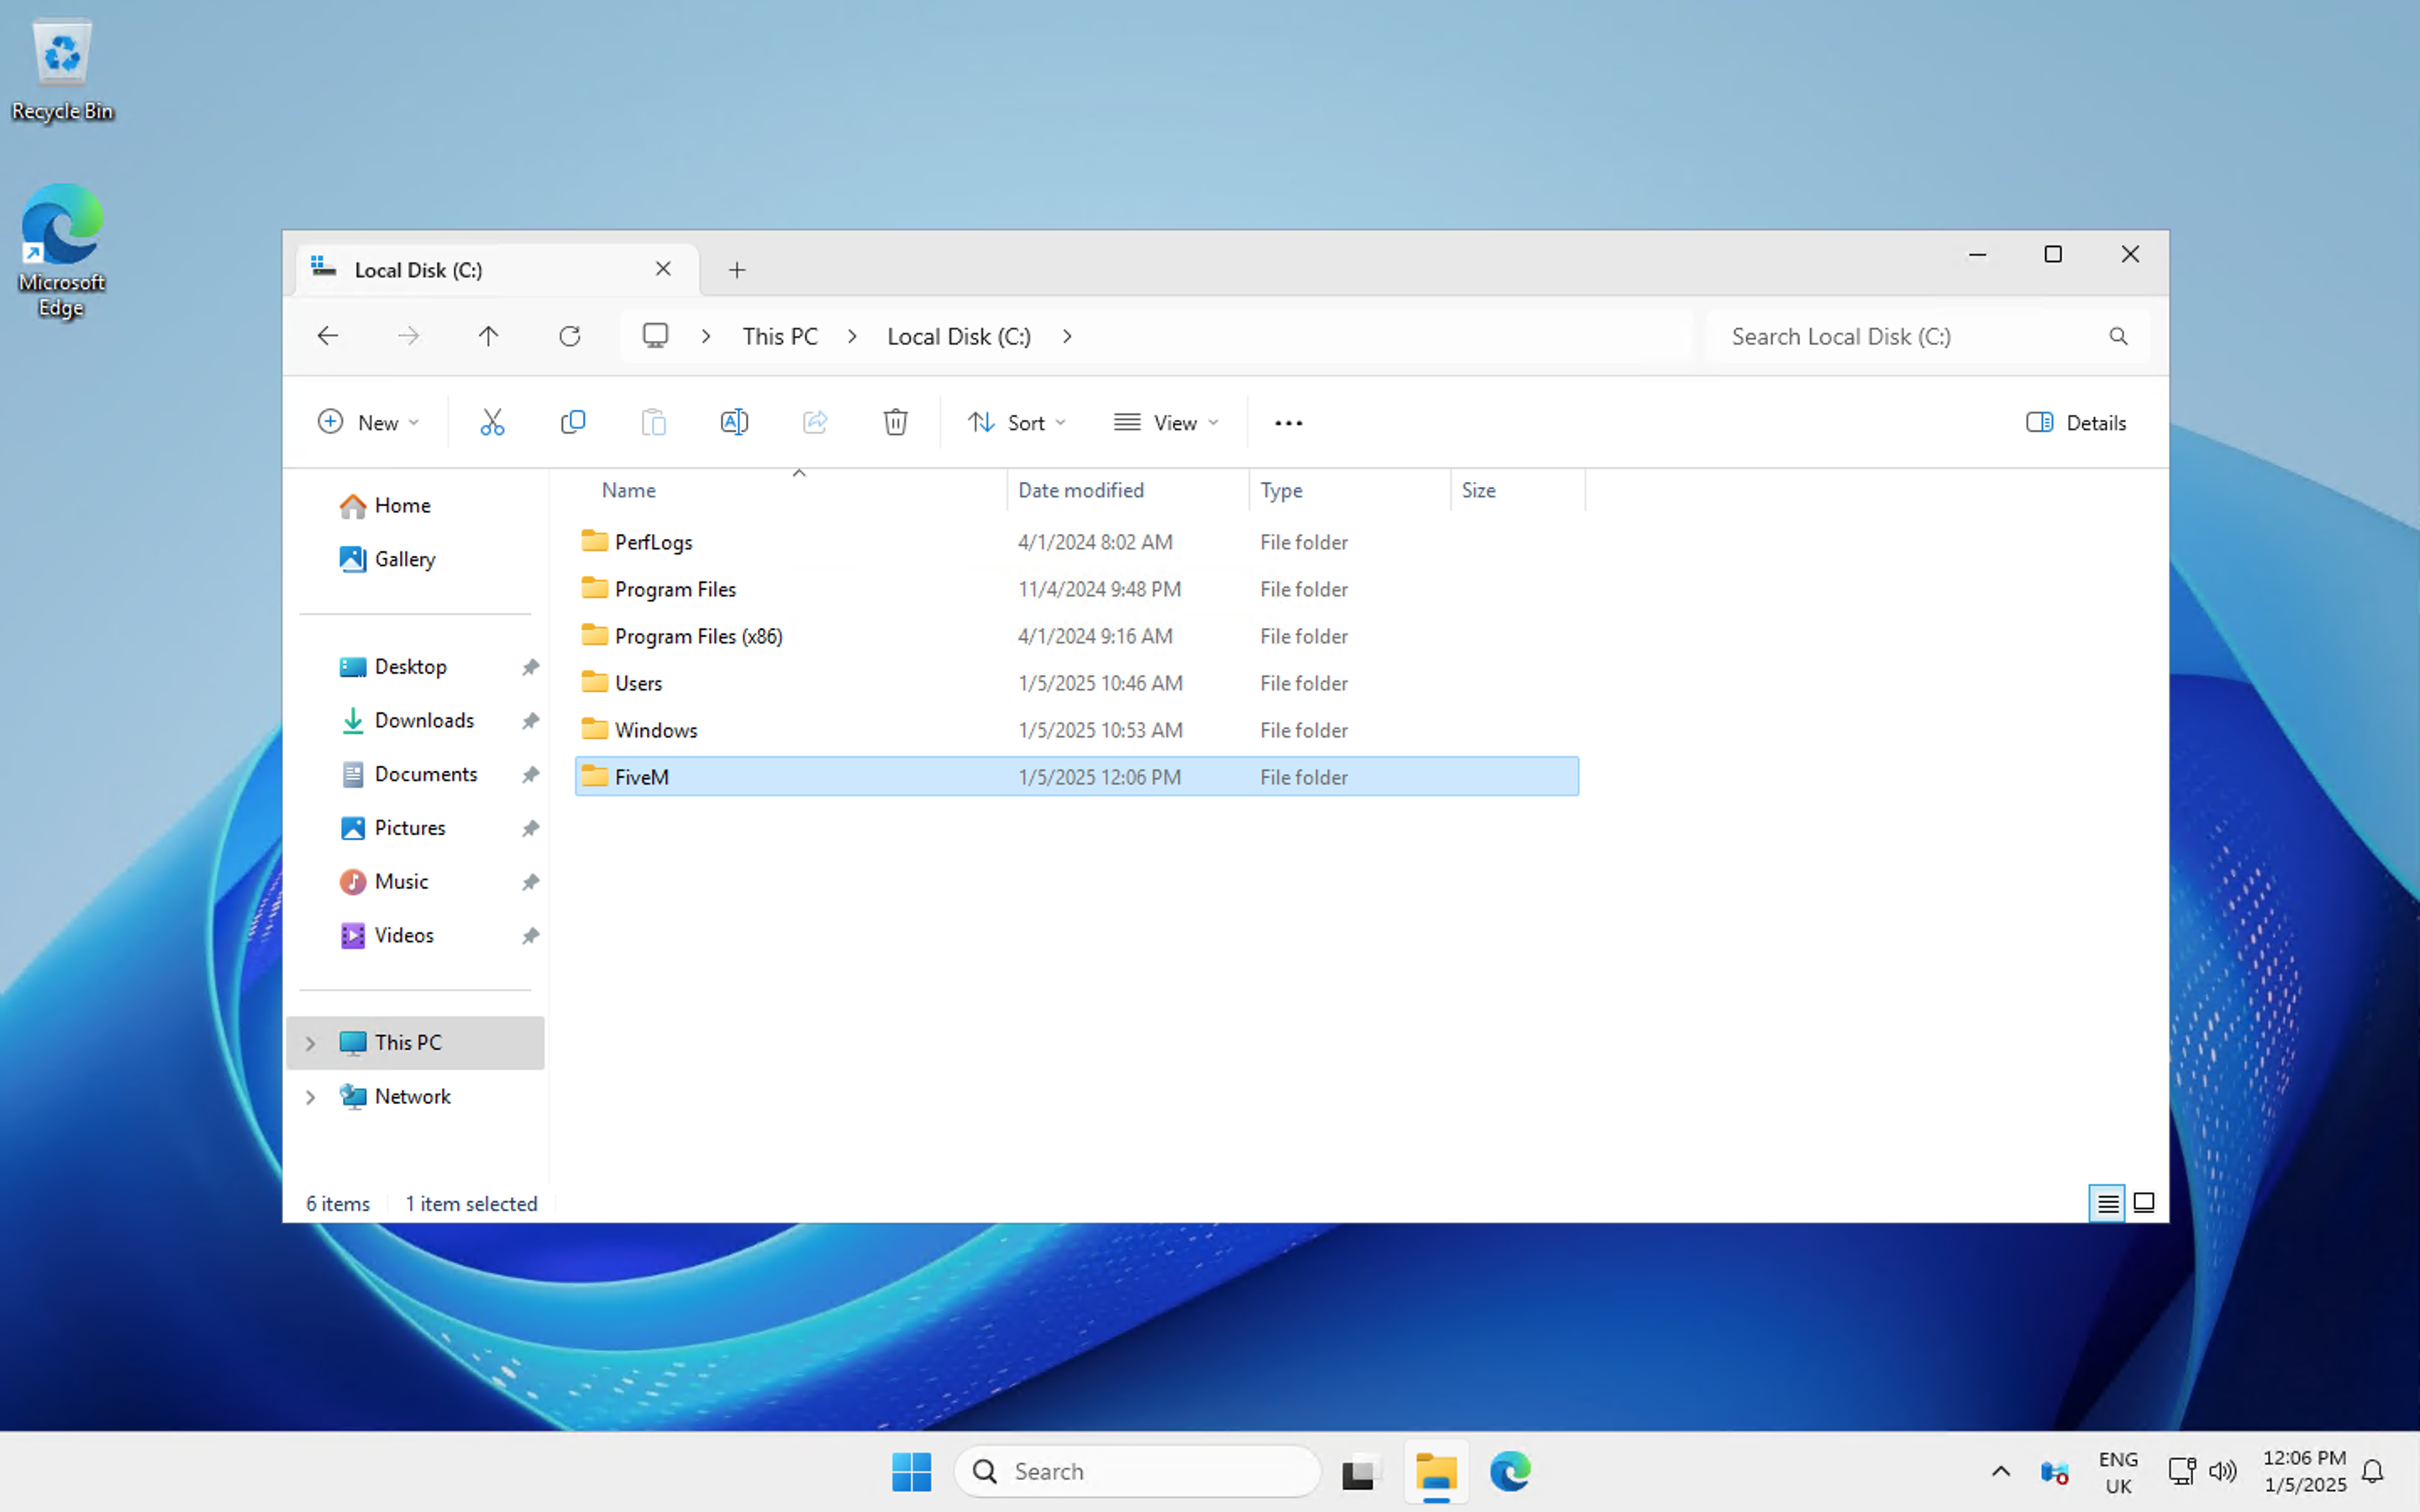
Create a new folder in your C:\ root like we have in the screenshot below. We called it FiveM.
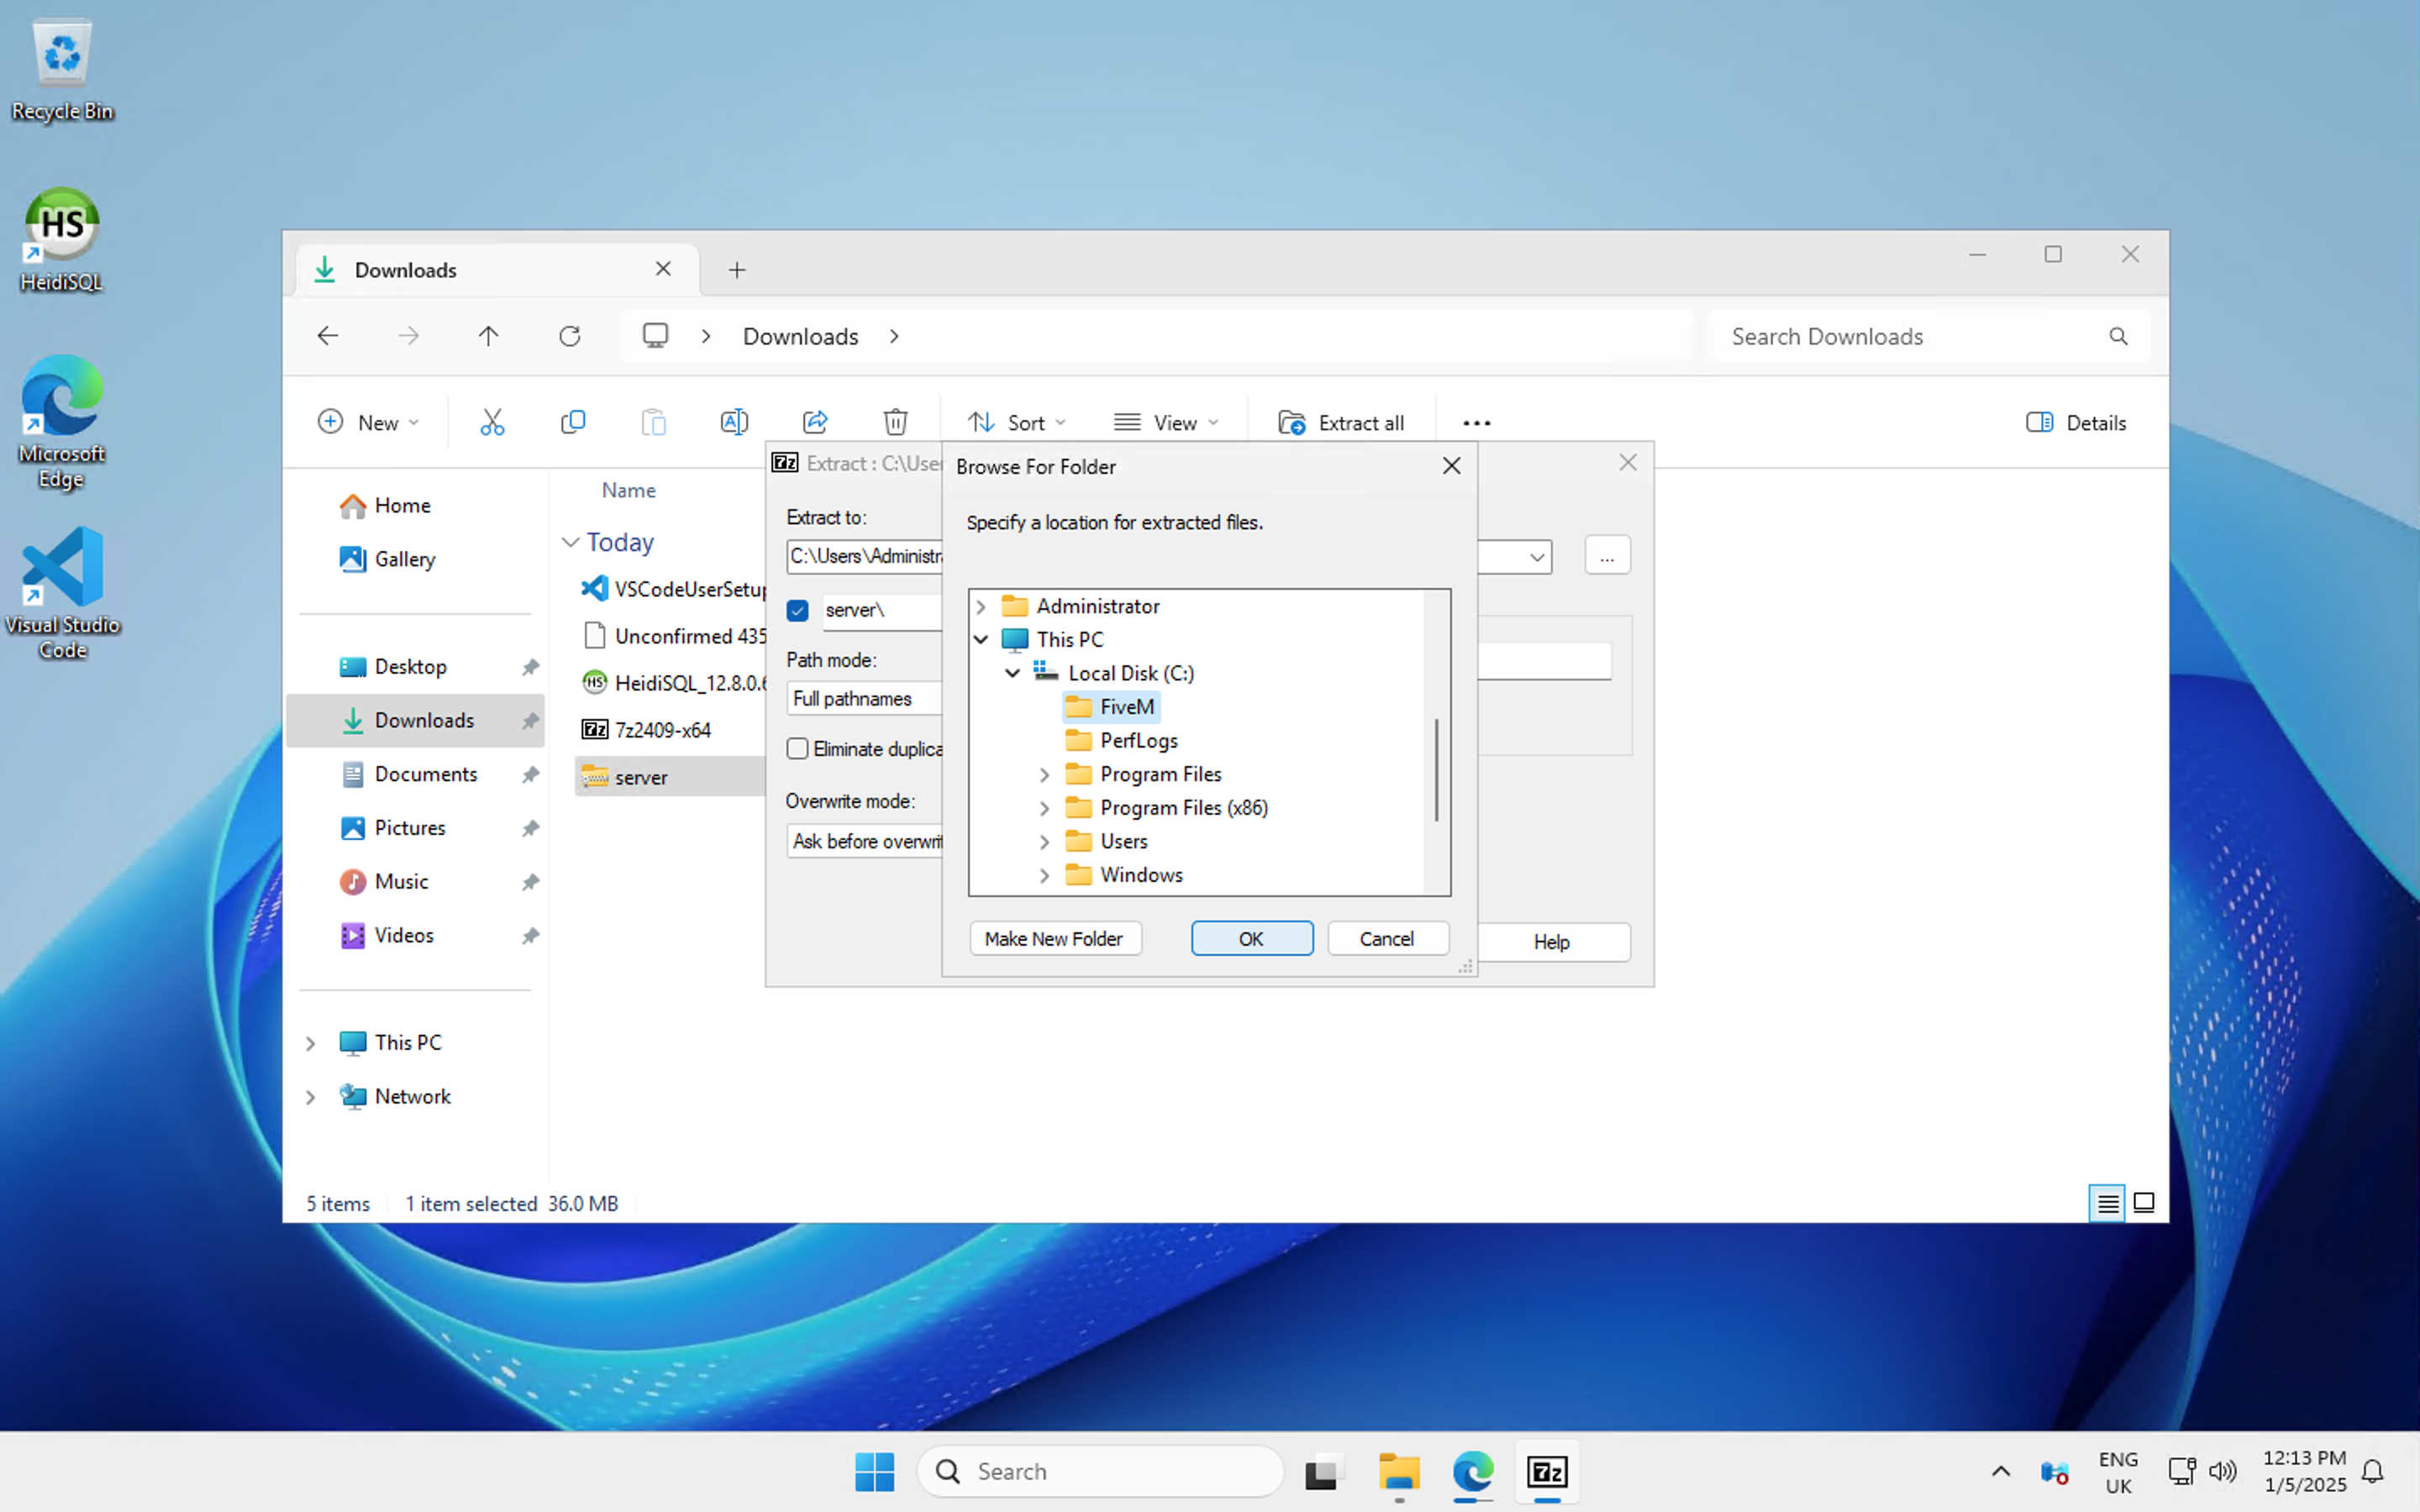
Now you can unzip the server files we downloaded earlier into this FiveM folder. To do this you will need to use 7Zip, from the right click menu choose 7Zip > Extract files… option and then find the FiveM folder we created under C:\.
For Windows Server 2025 you might need to right click, choose show more options then then find 7Zip > Extract files…
Next, open the FiveM folder, then server, then find the FXServer file shown below

Open this and it will run the FXServer executable which will install the server and open a page to begin the installation automatically
In a few moments a web page will pop up with an option to link your server to your CFX account, choose link and then log into your CFX account to proceed.
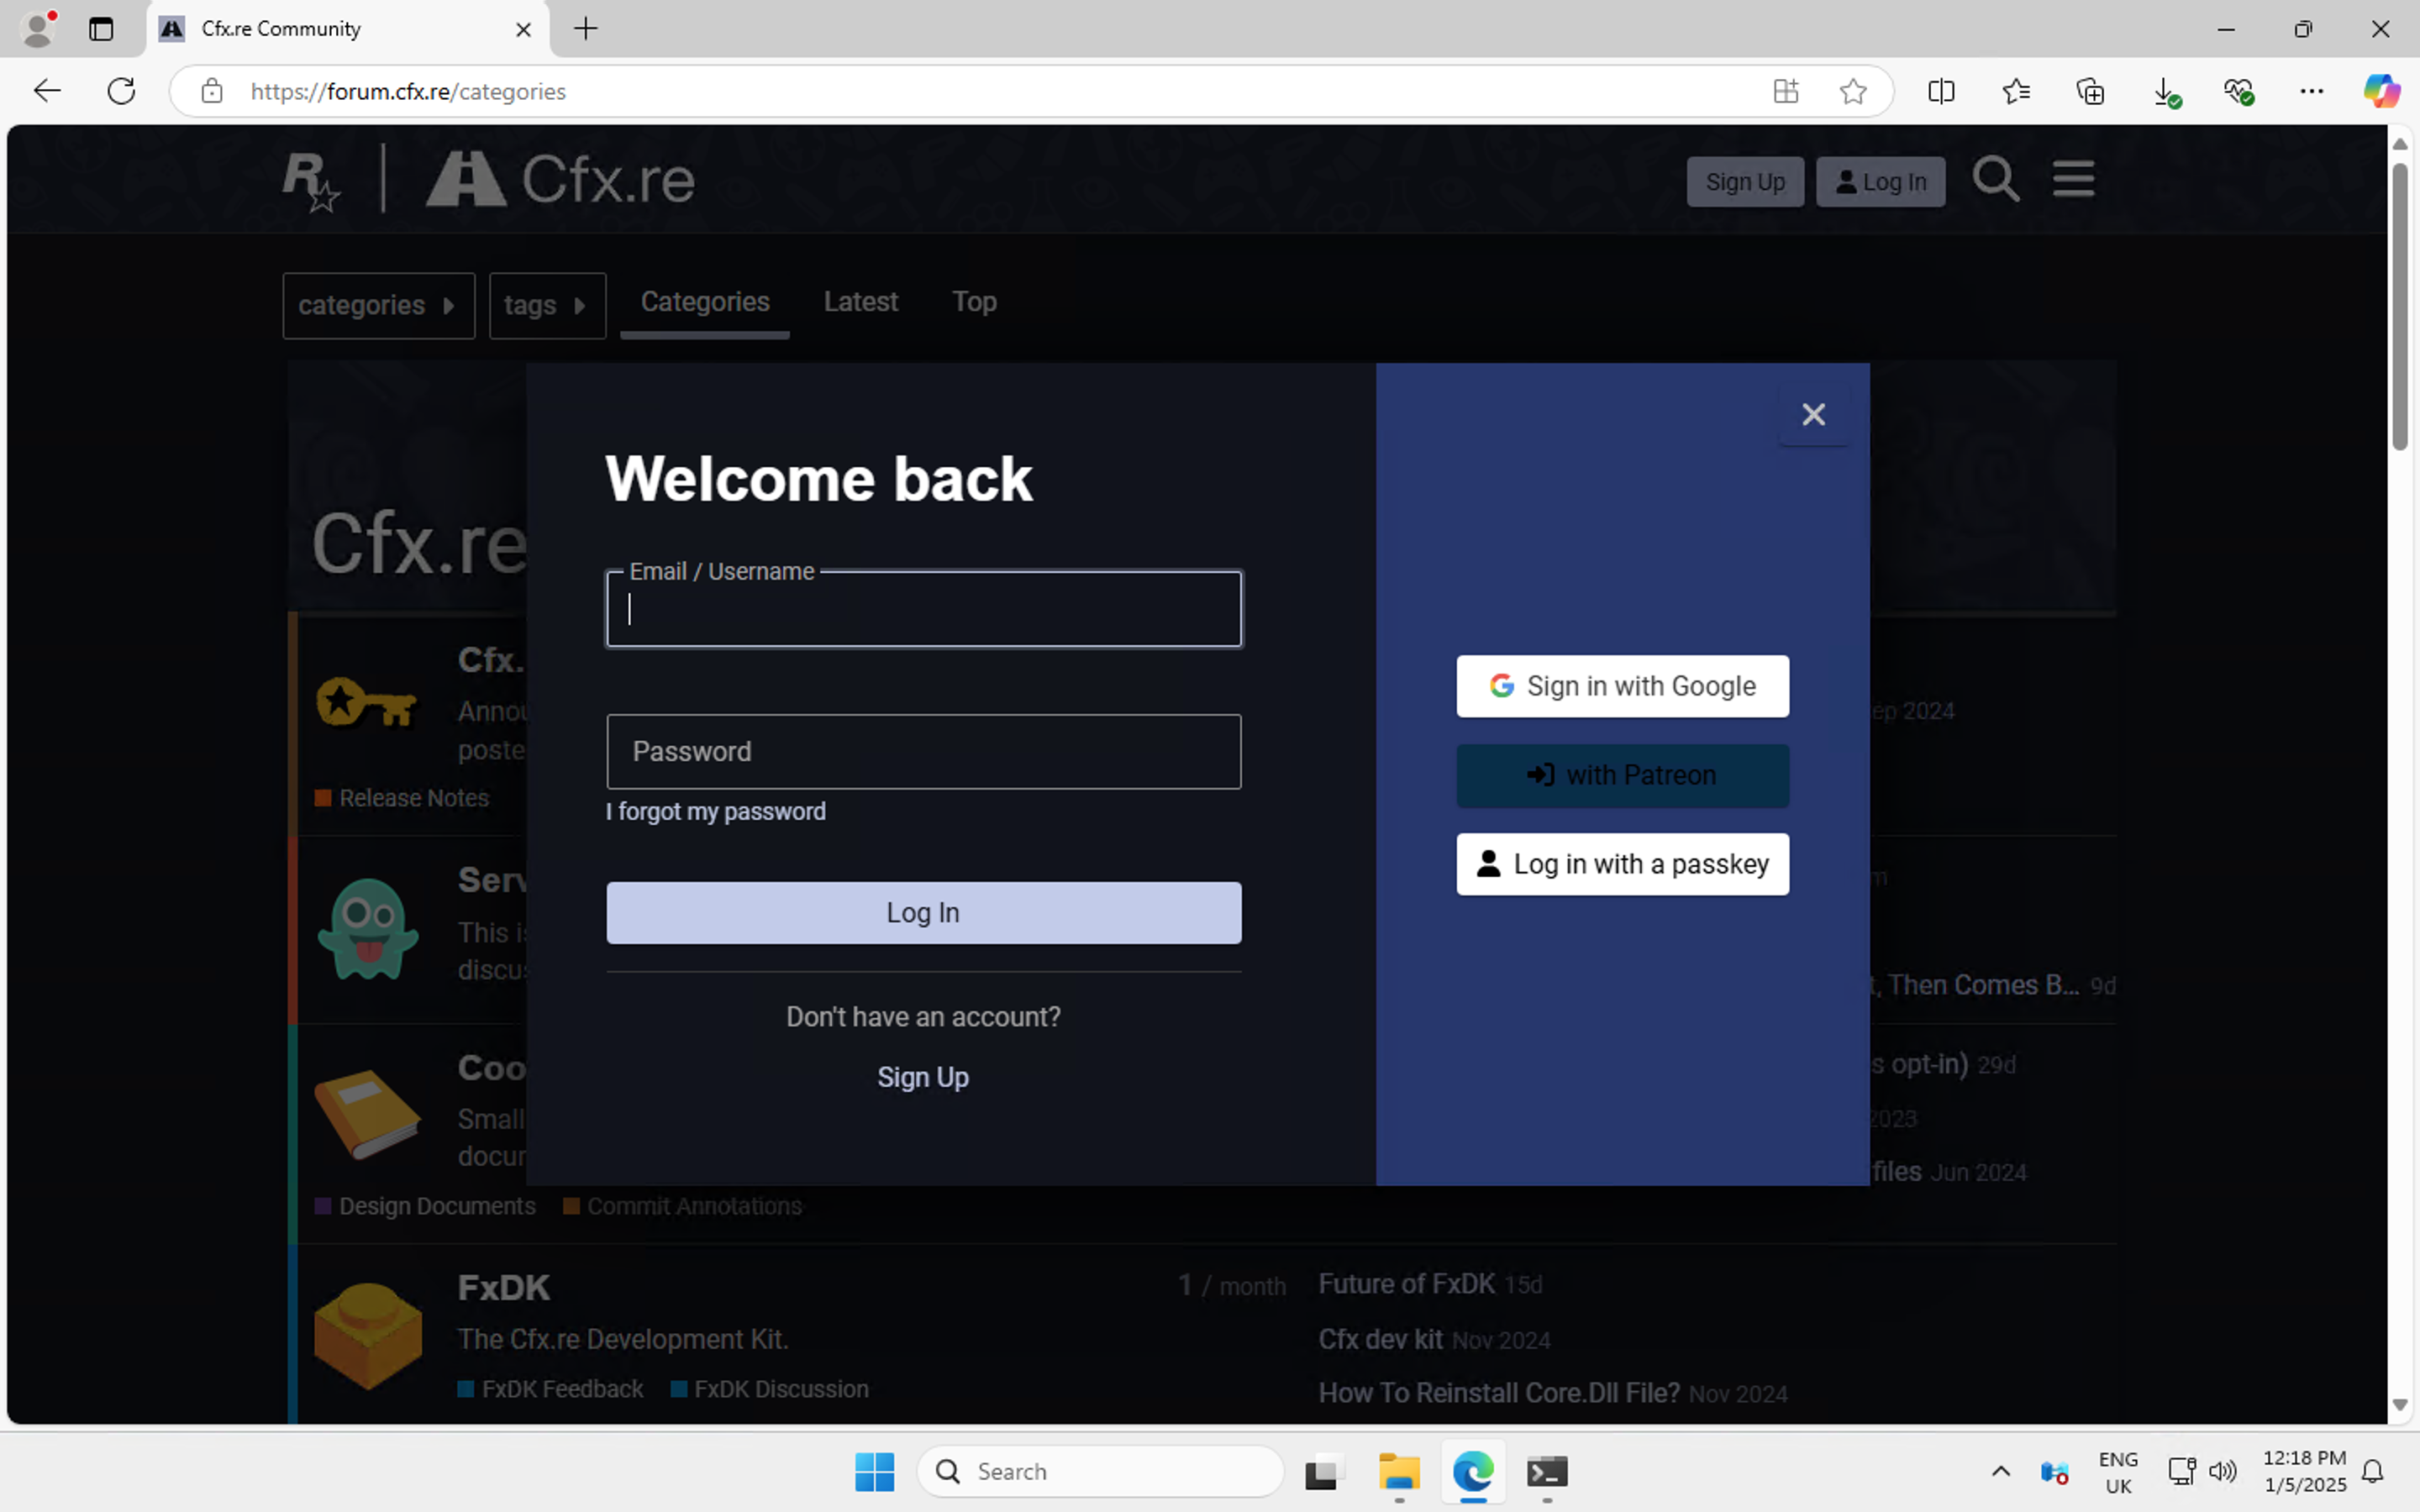
Once you have logged in you will be taken to the configuration page
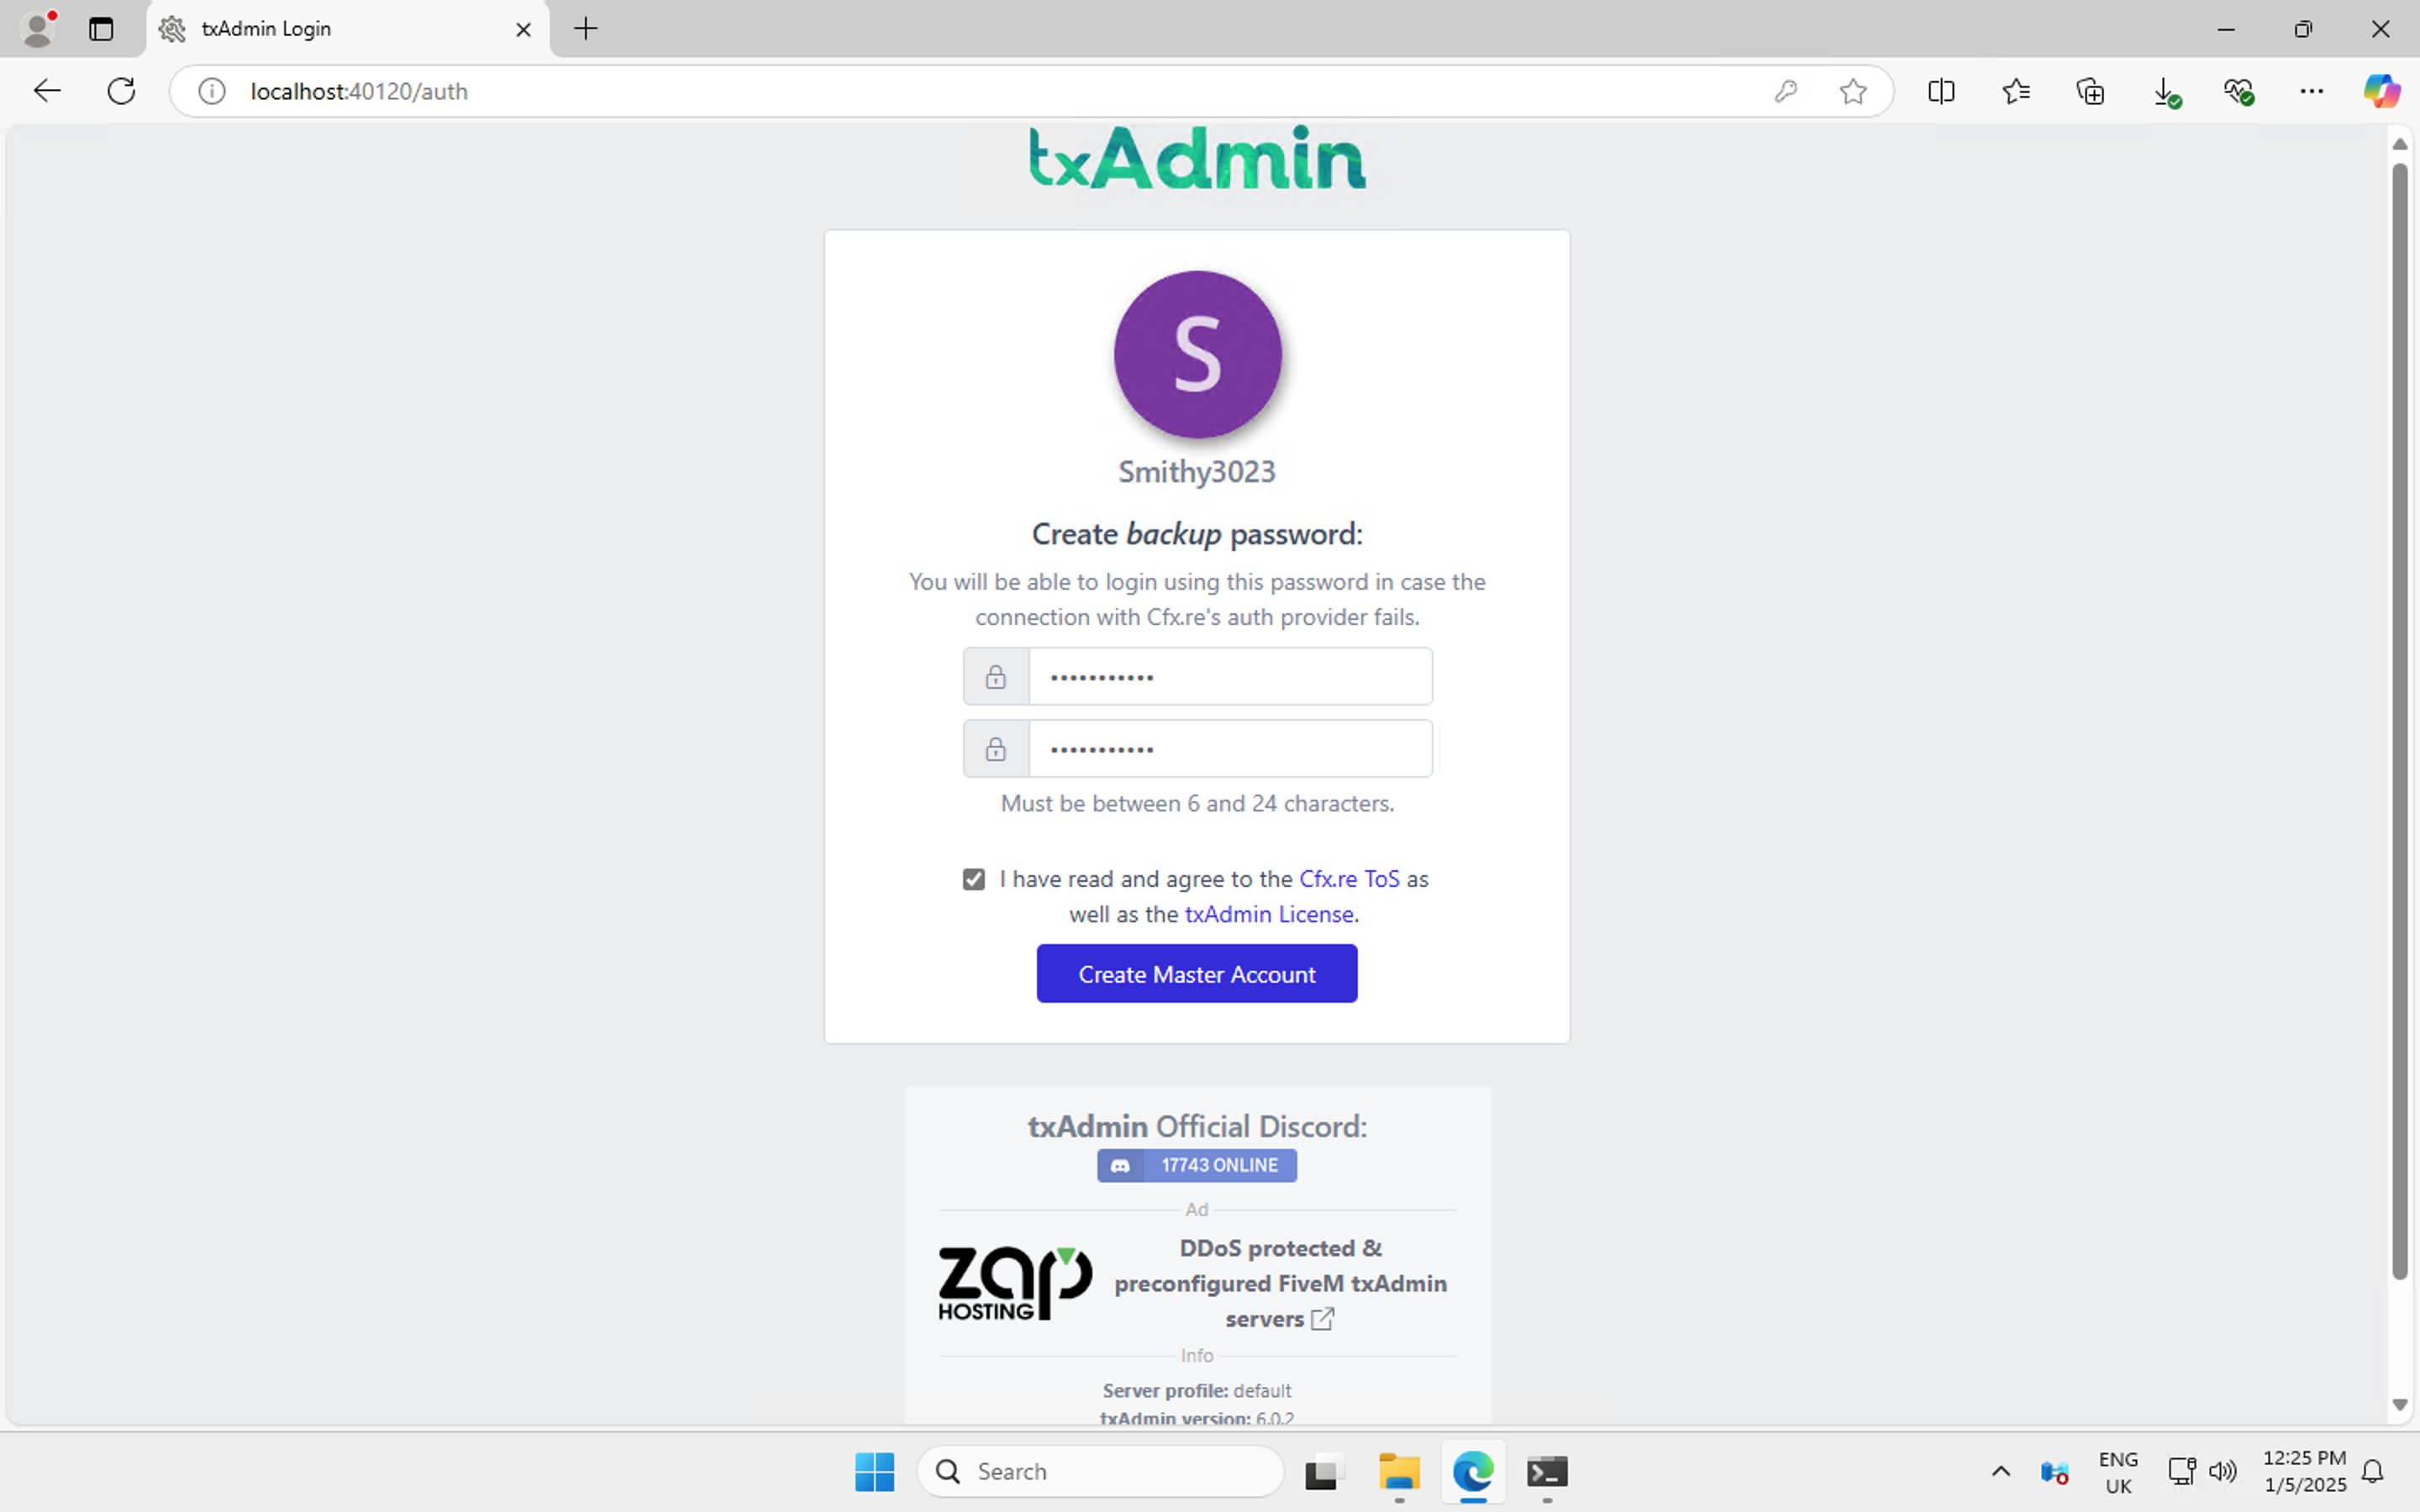
Next you will begin to set up your server, work your way through the options.
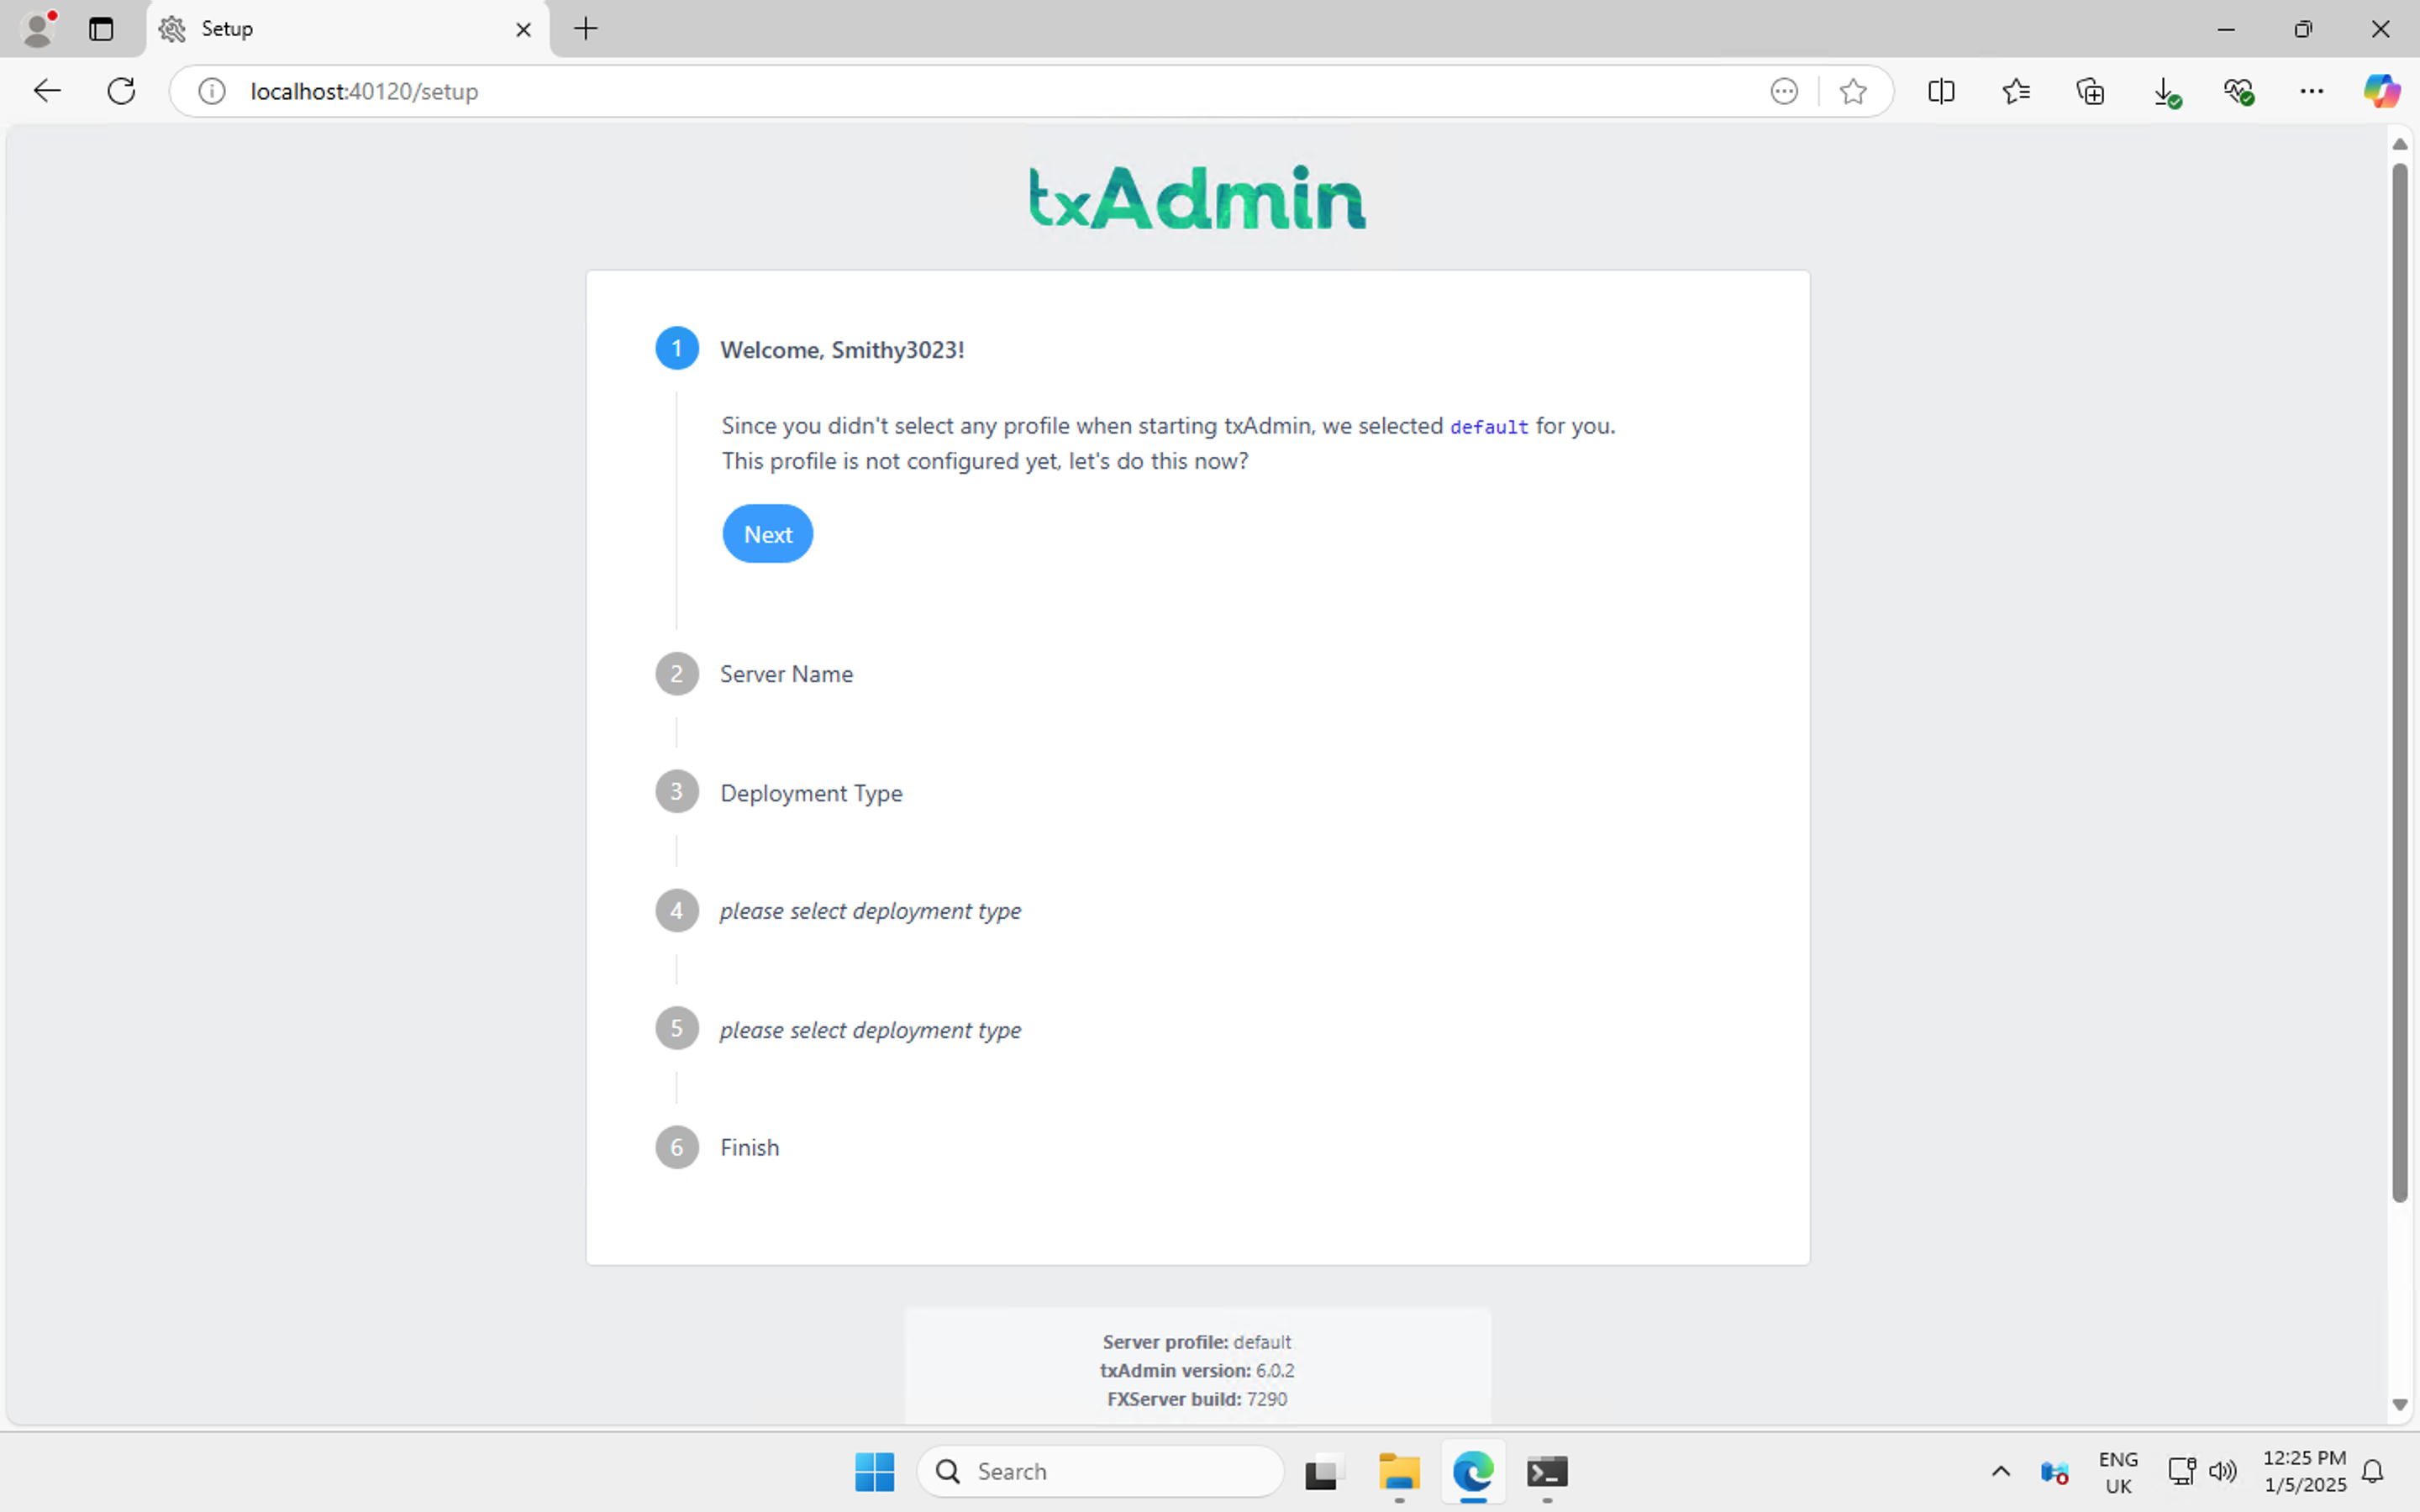
This is where you choose the type of server you want to deploy. We are installing only a basic CFX Server (Vanilla or VMenu), so choose popular.
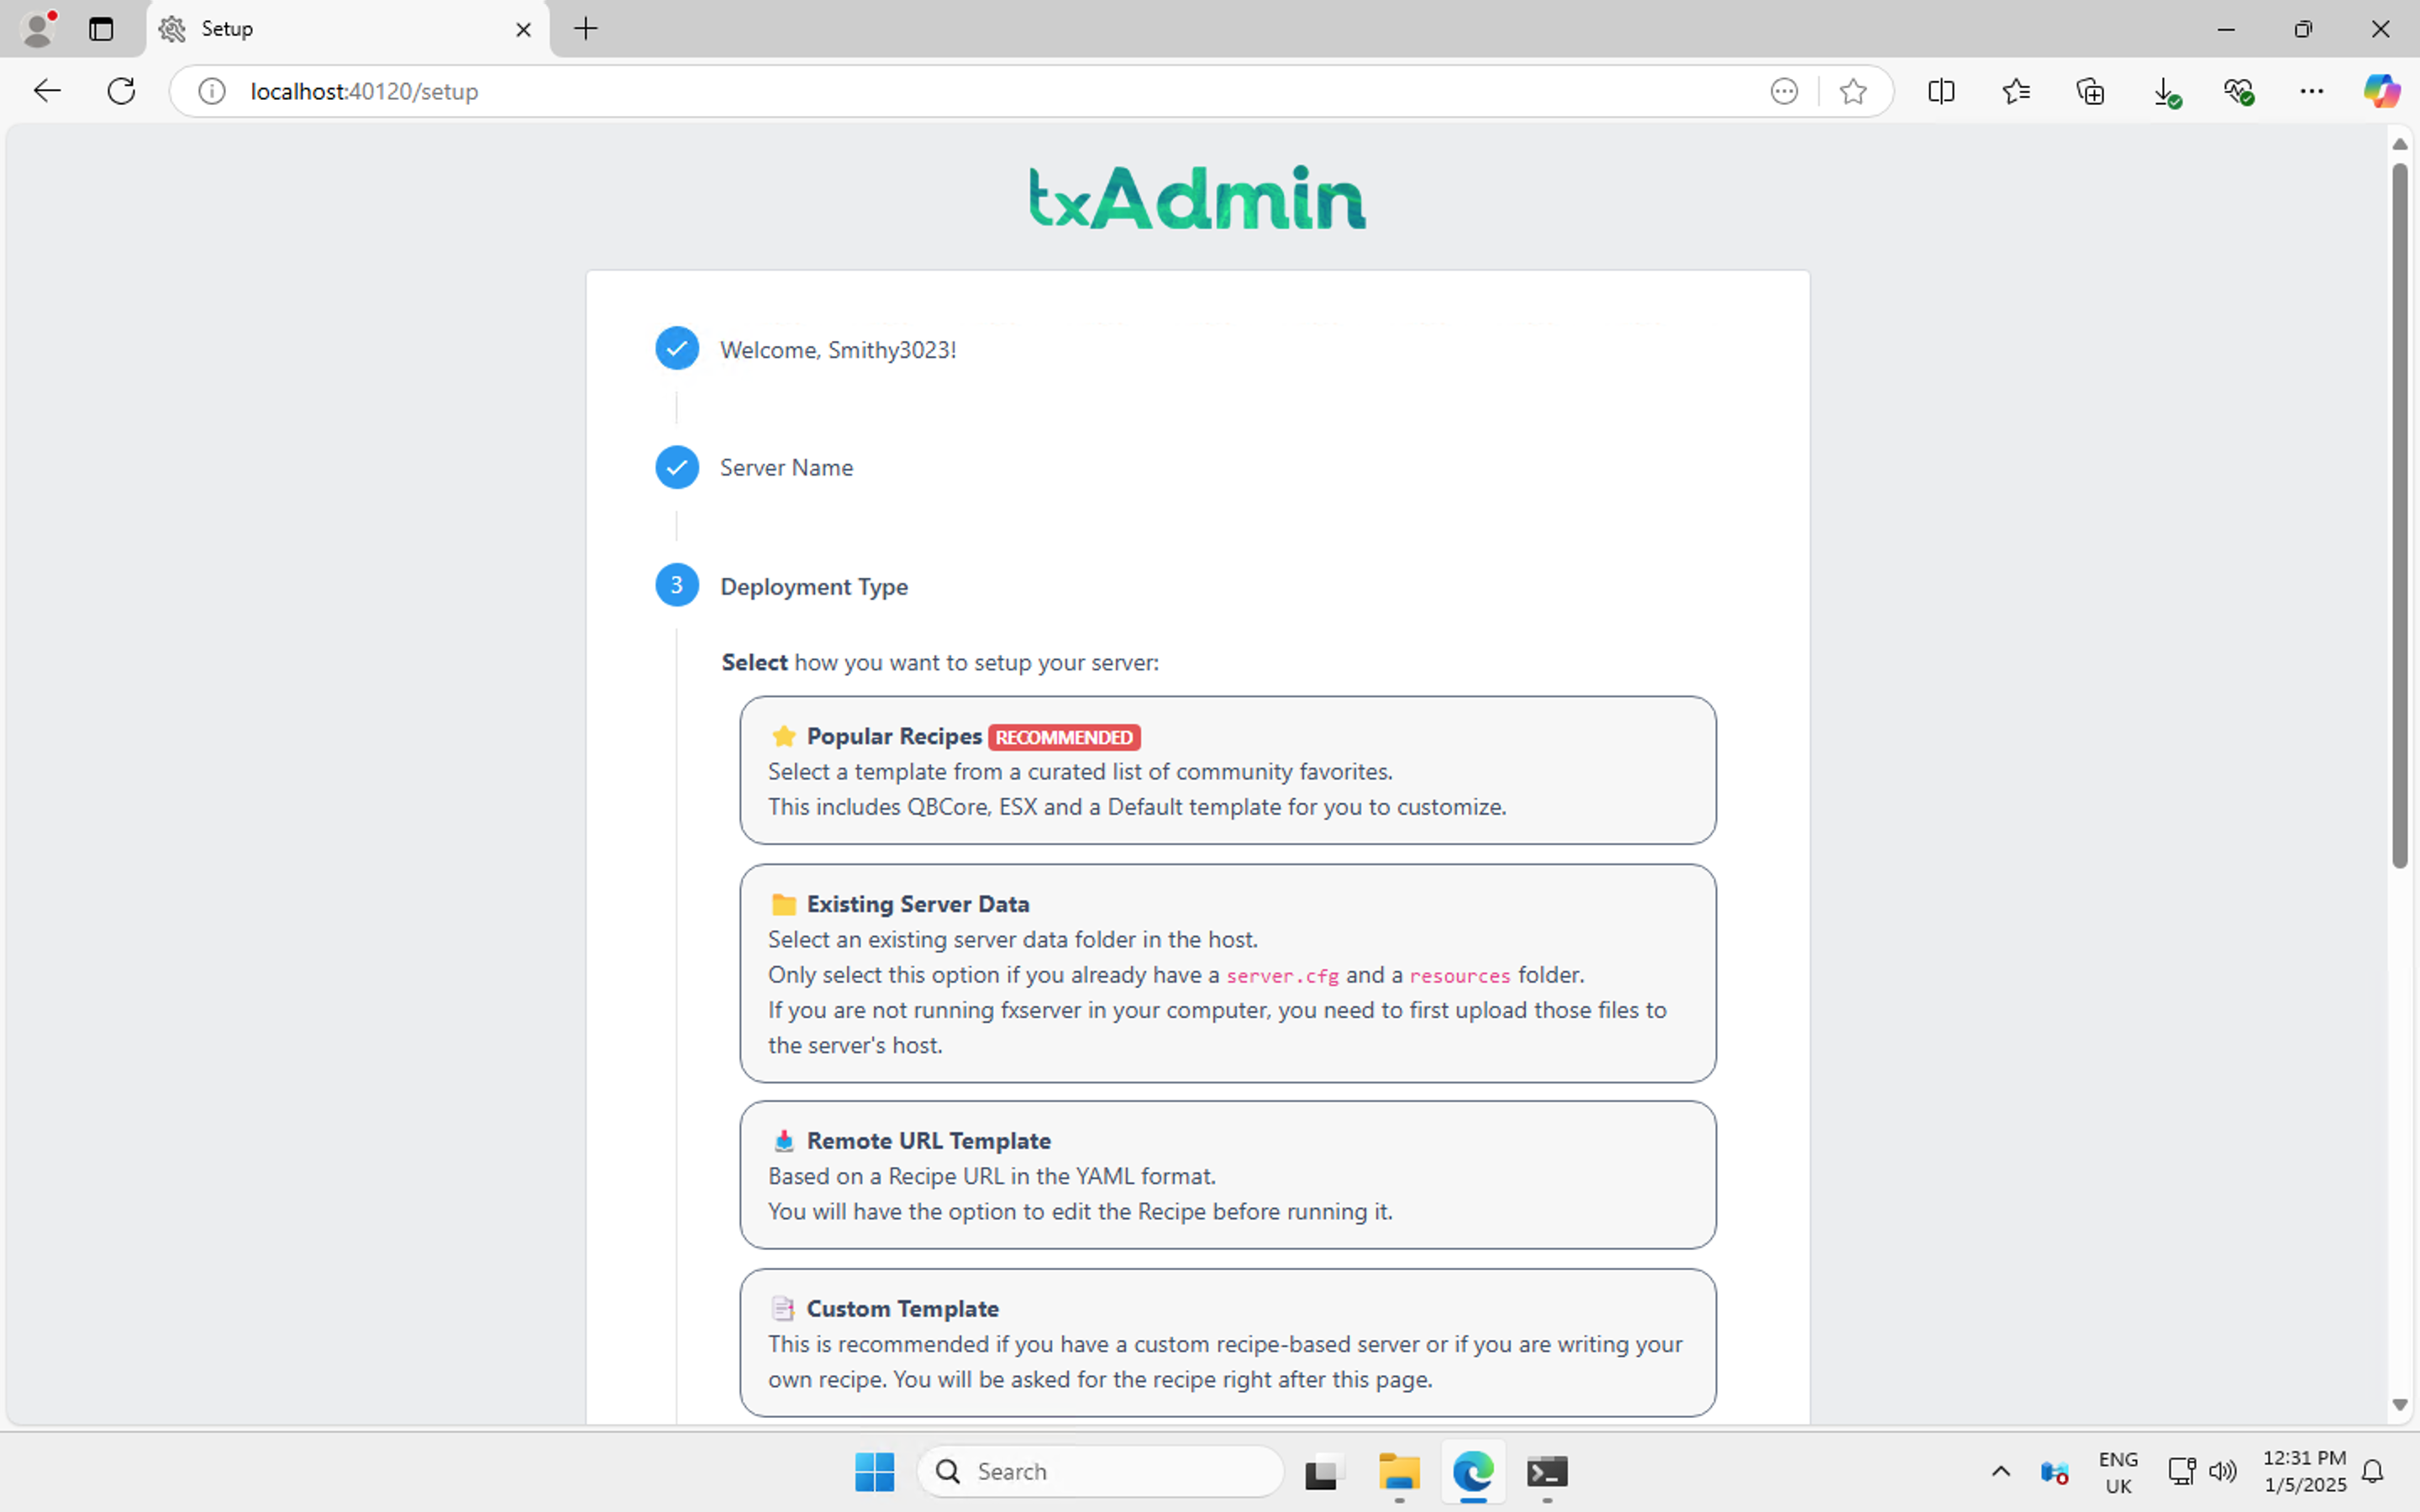
Next choose CFX Default FiveM. Now press Save to confirm the location and then ‘Go To Recipie Deployer’
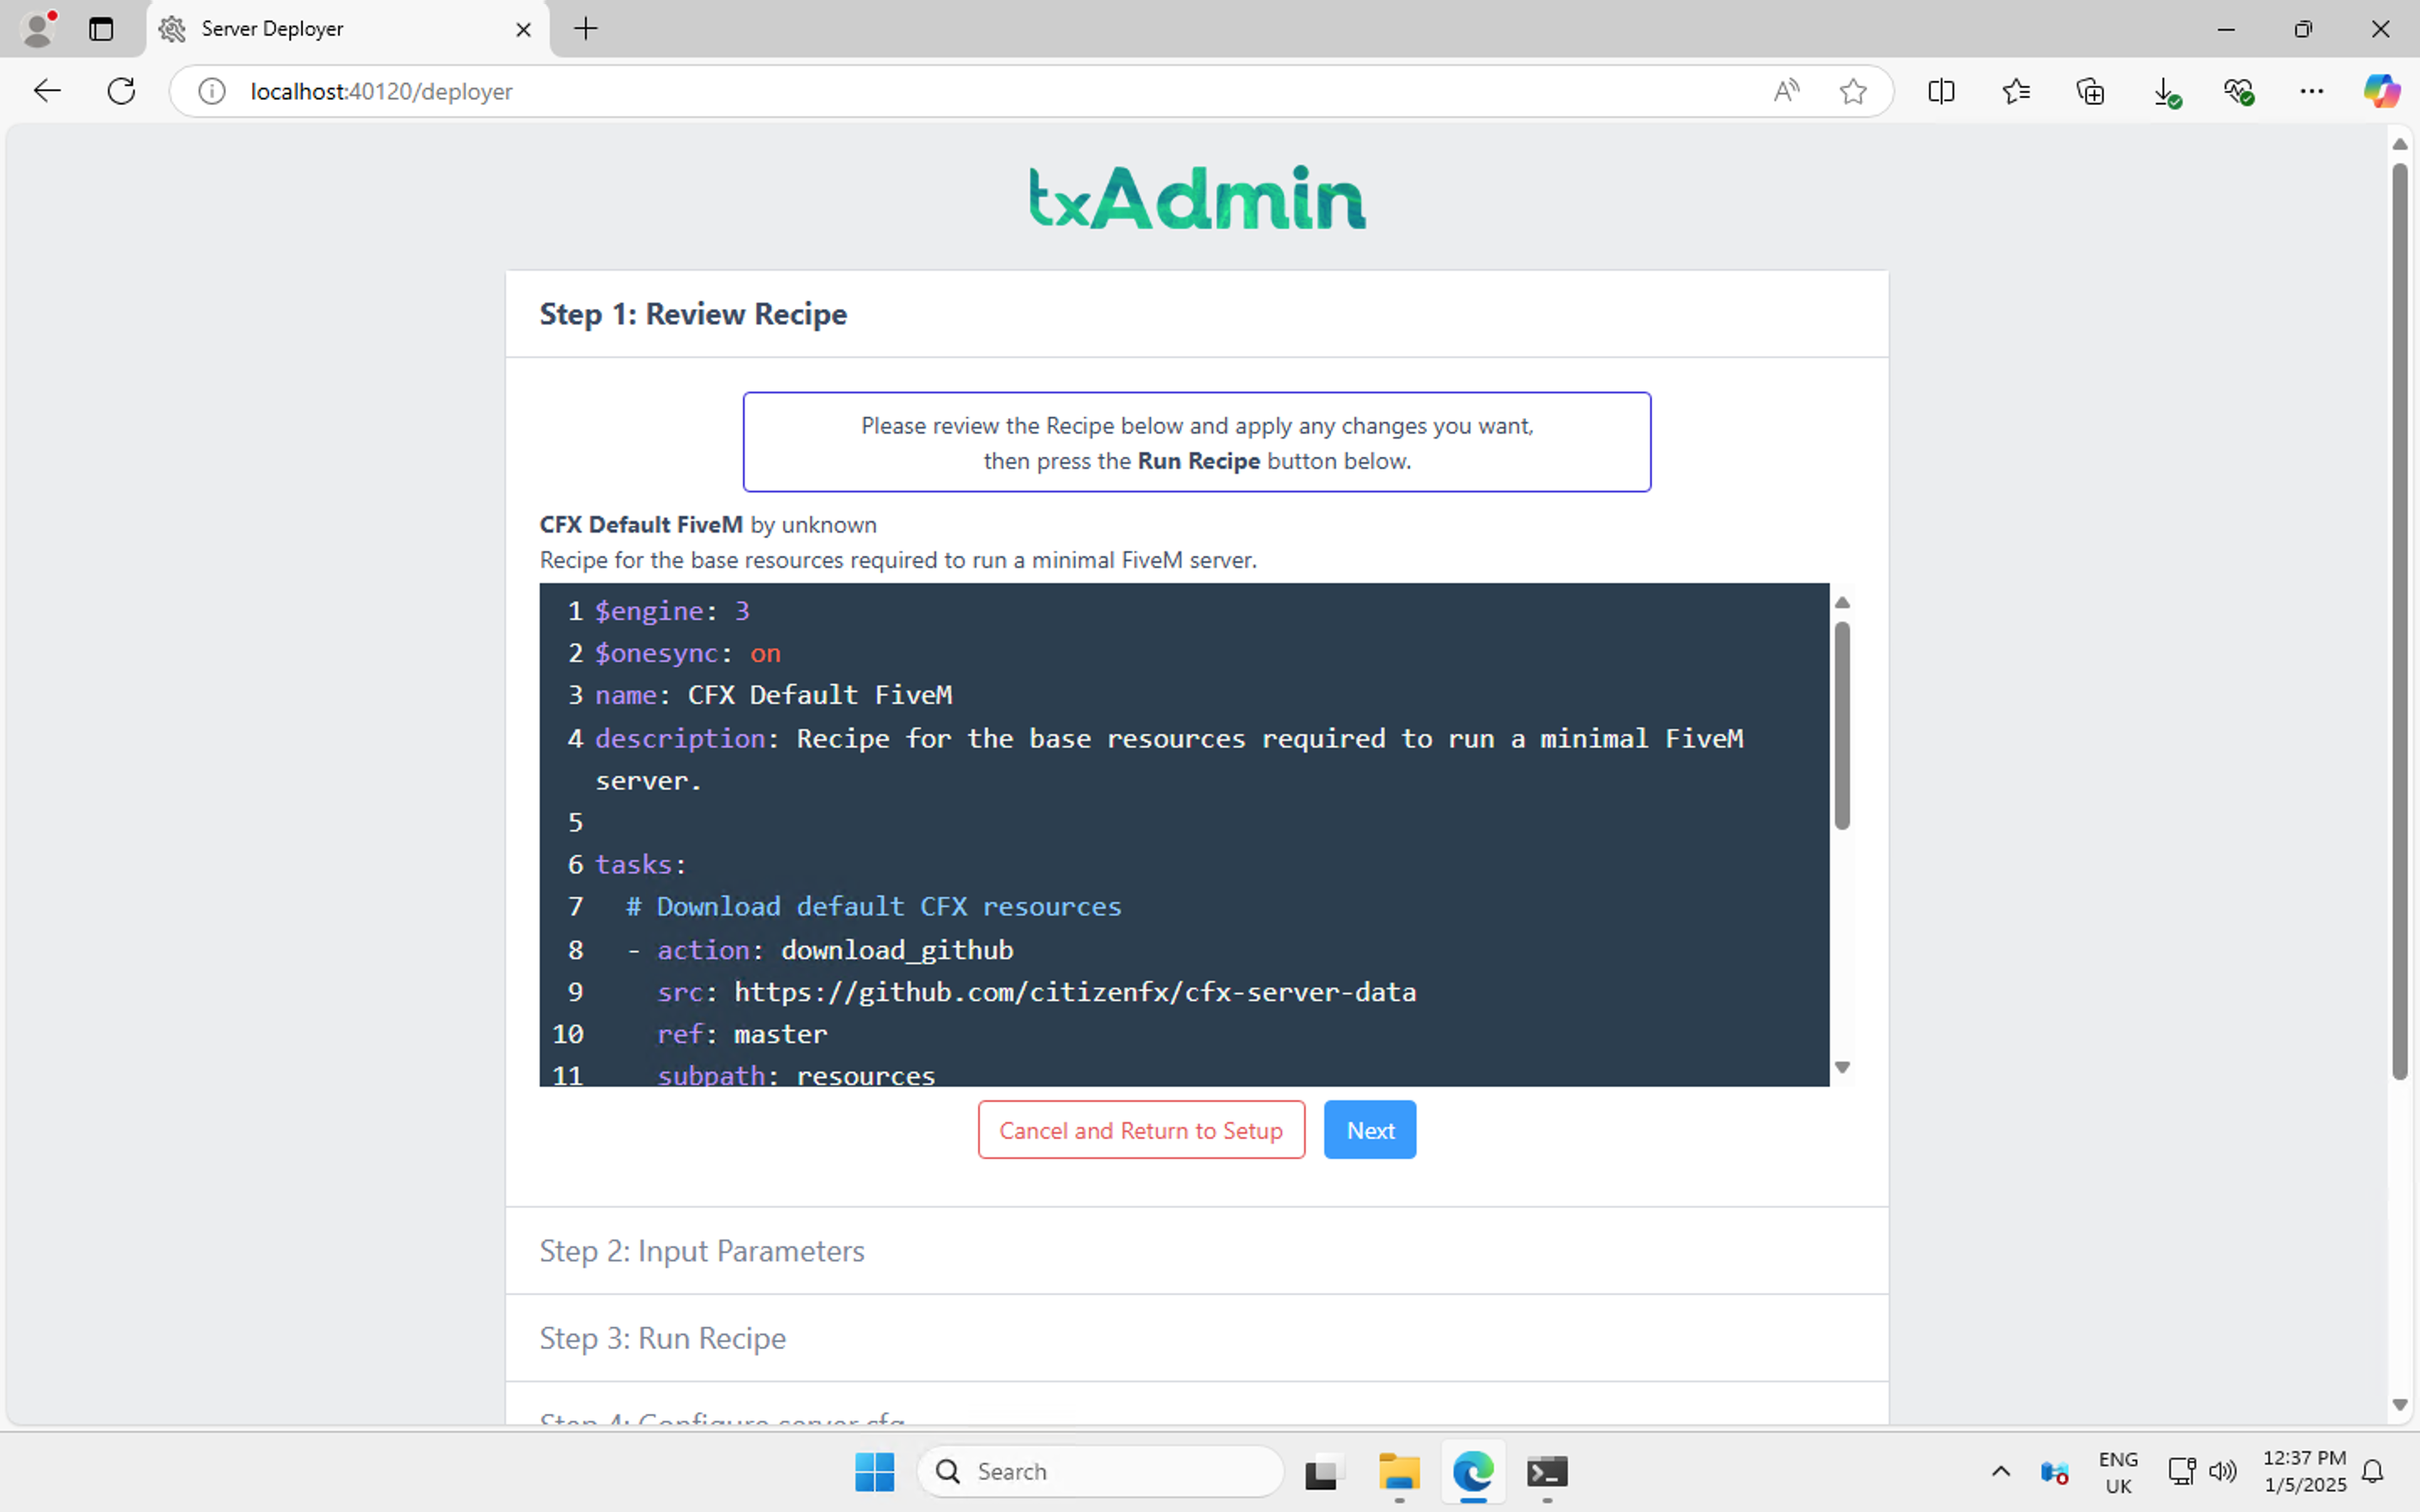
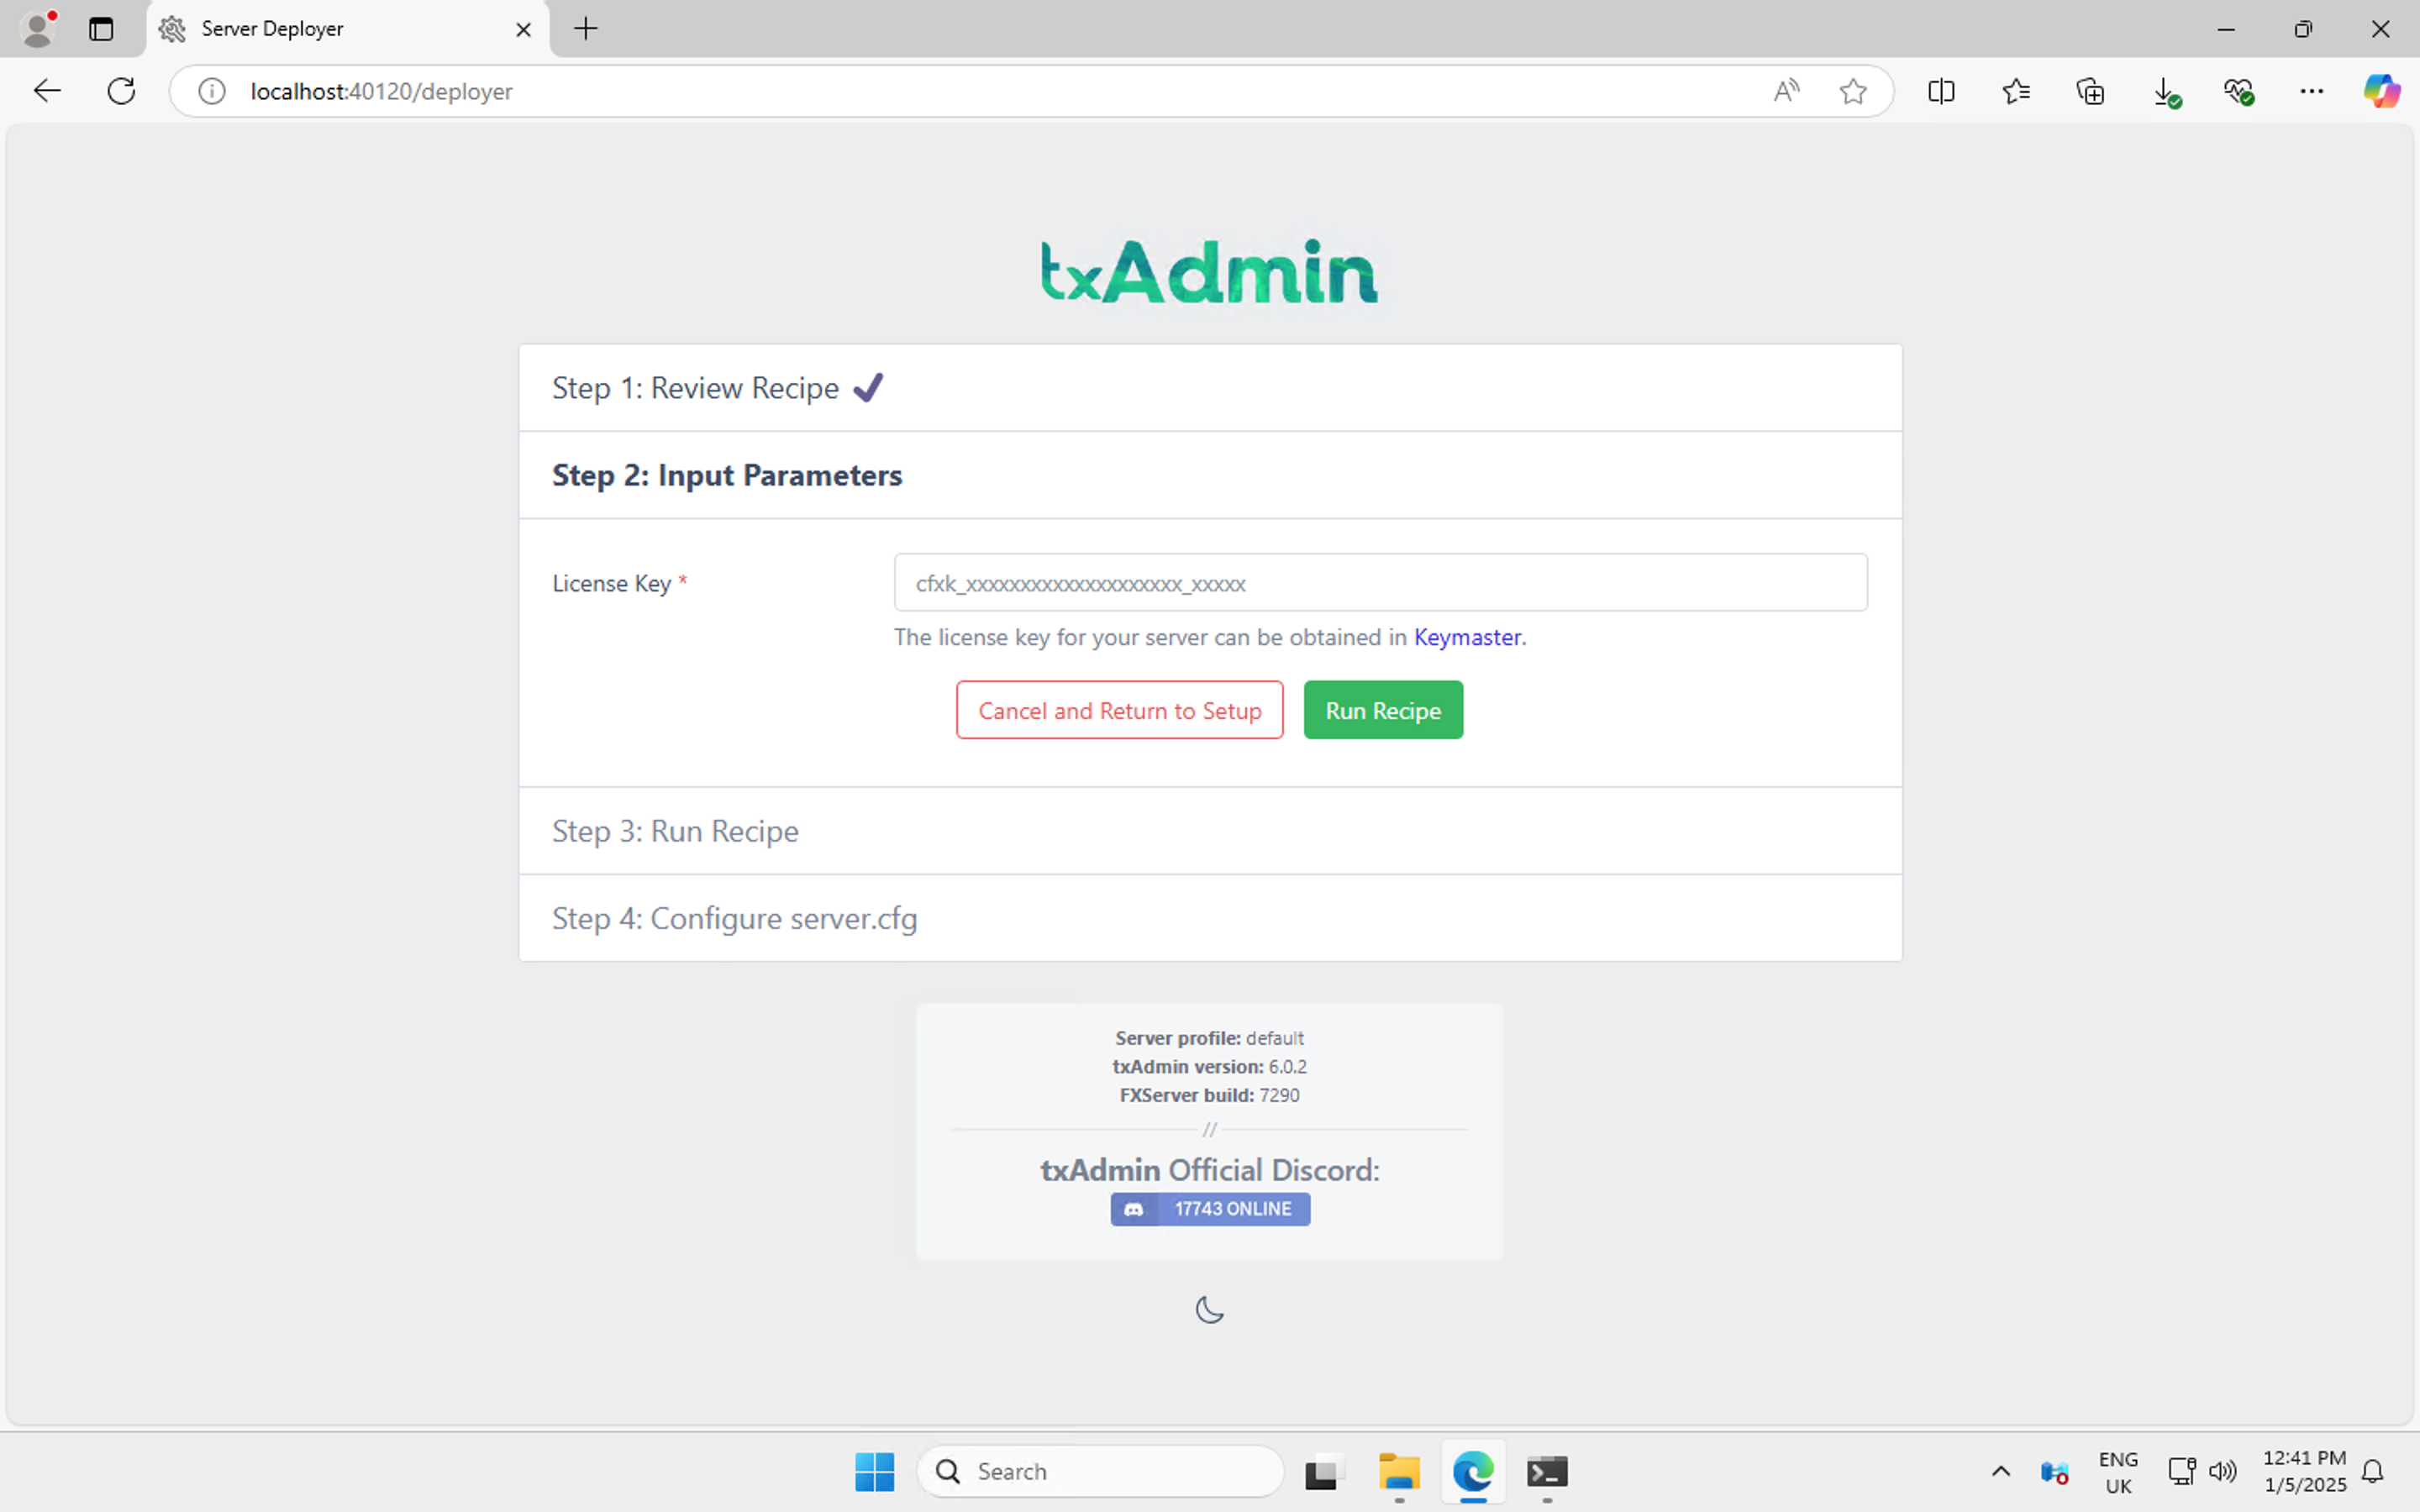
At the recipie deployer we don't want to make any changes so we will just press Next which will take us to the next screen where we require a licence key from your CFX account. Once you have it, press Run Recipie.
Running the recipie will take you to the CFG configuration page, here you can make some changes but for now we suggest just to get the server built as we can make changes to the CFG through TXAdmin later.
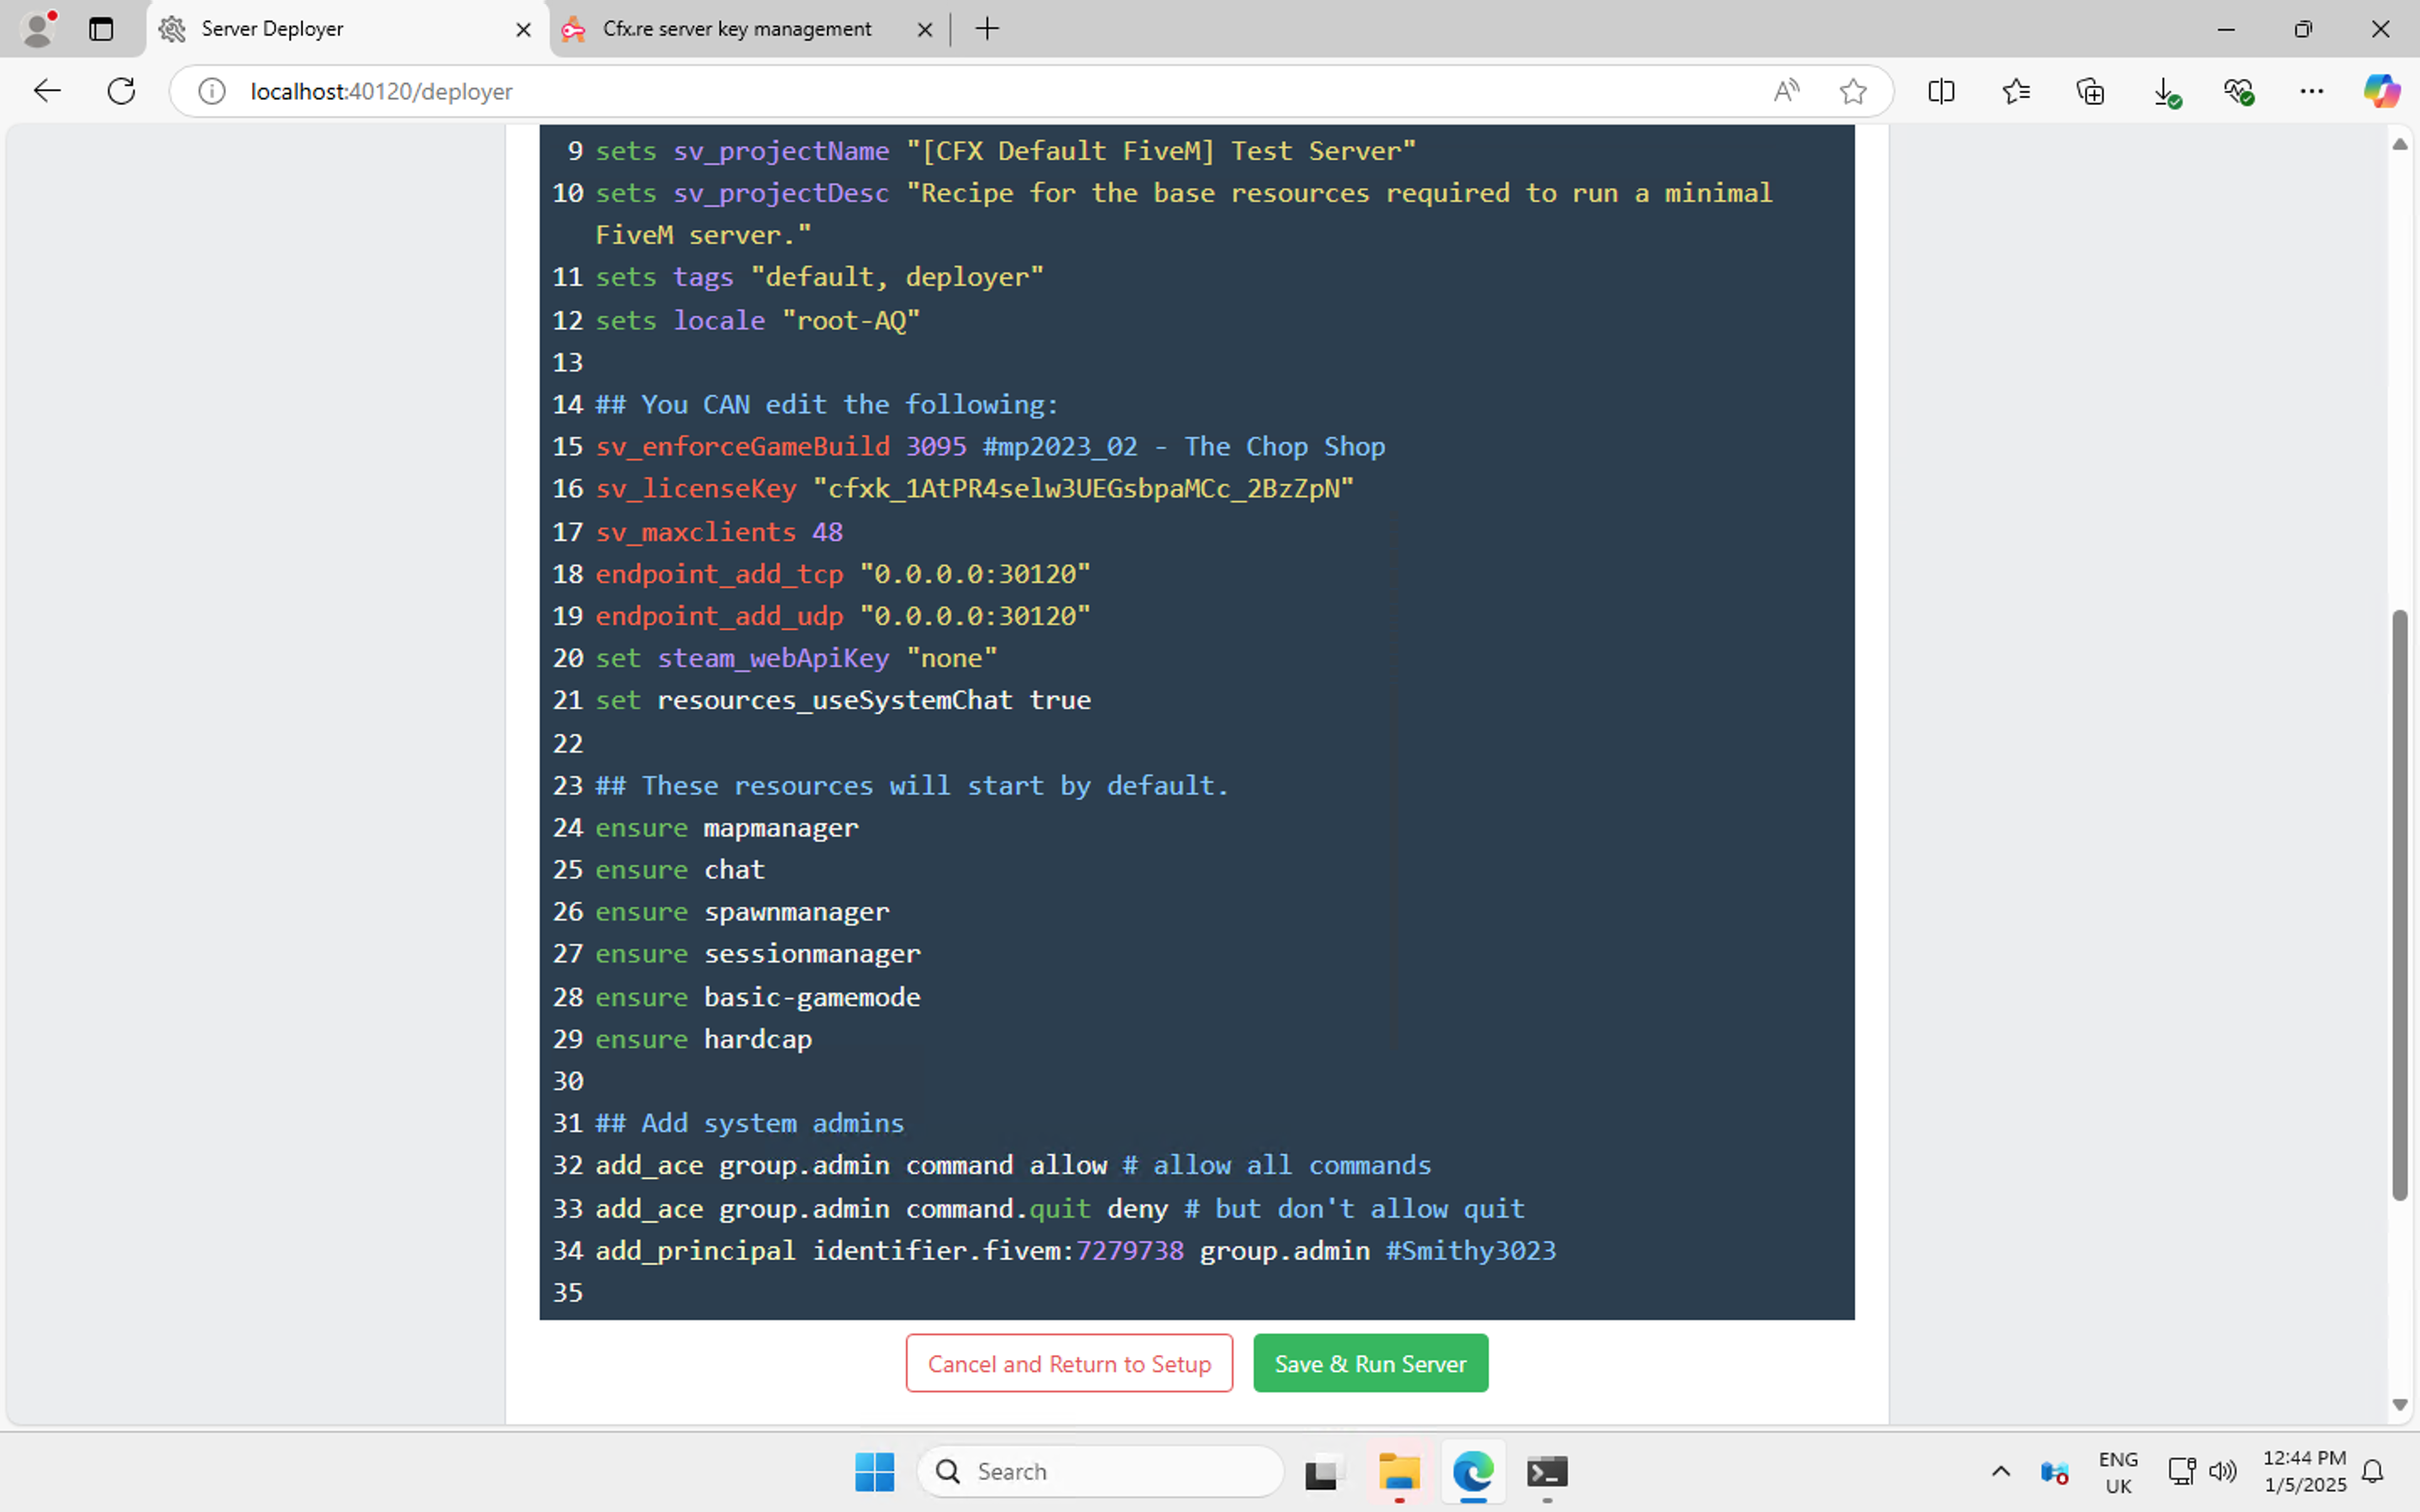
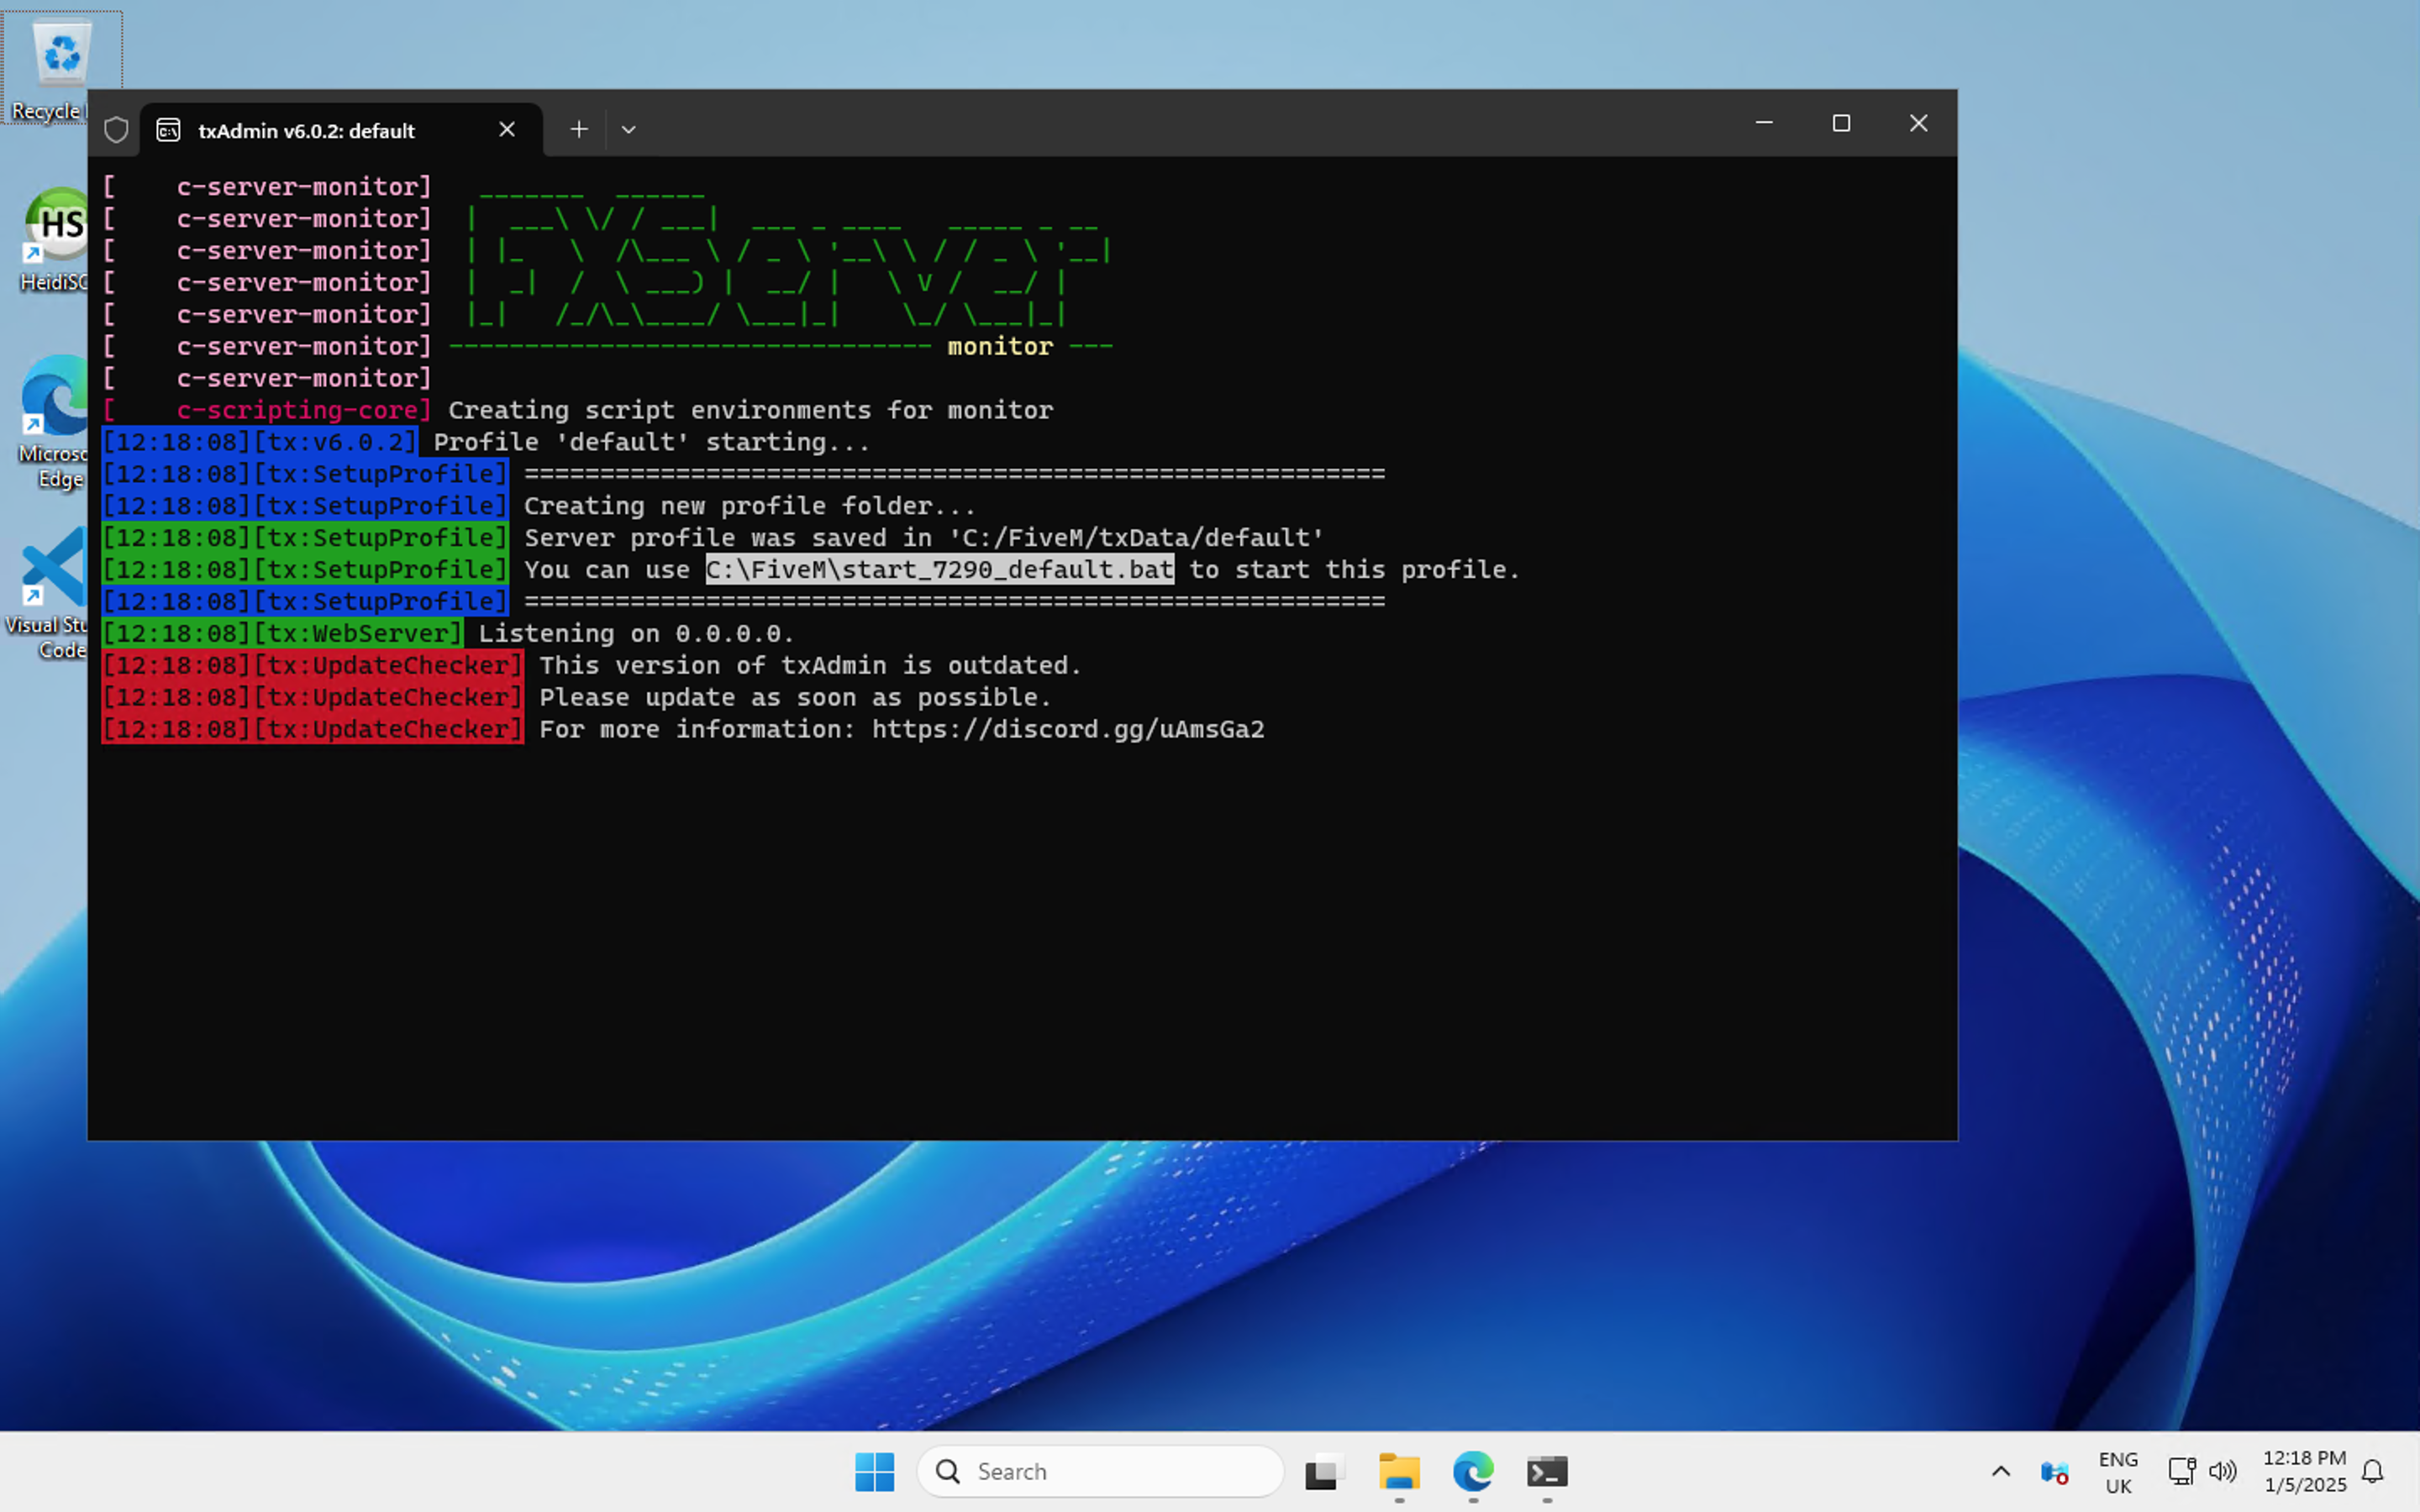
Hit Save & Run and it will take us to our TXAdmin interface.

Congratulations! Your server is now up and running, you can work your way through the TXAdmin settings and config pages to make some changes to your installation. You will be able to find additional guides from us on some aspects of this.
You can always access your TXAdmin interface again by going to http://VPS-IP:40120 in your browser window either on your VPS or on your own PC/Laptop.